
*This guide contains minor spoilers for Code Vein II
Preperation
While up to this point, you have fought tougher enemies than the usual fare, Franz the Dejected Assailant serves as one of the first true boss fights in the game, and as such, can be a struggle to defeat. Found at the end of the first foray into the past, the character is fought at the bottom of Magmell Tower and blocks you from the rest of the past version of the island until defeated.
Despite this, you have unlocked the present day again, so there are some options if you are struggling to beat this enemy. Progressing with the main story unlocks a new area where you can farm some experience. By this point, you have also unlocked the MagMell facilities, so upgrading your weapon should also be a priority. You aren’t fully forced into linearly fighting this enemy, so don’t force yourself to if you don’t need to.
As for myself, I used the Ancient Hunter’s Twin Blades +2, which should have the Relentless Sword Dance and Adrenaline equipped, the Superbia Bloodline: Lou 1, with only the Regeneration item equipped to my shortcuts. This is not particularly the best setup, I will admit that, but I kinda brute forced this fight before I understood all the options I could equip at this point. Completing a few missions in the main timeline. While completing the Ruins in this era will allow you to gain the Statesman’s Longbow Forma, which can alway for long-range attacks that help, but this enemy is designed to punish distance.
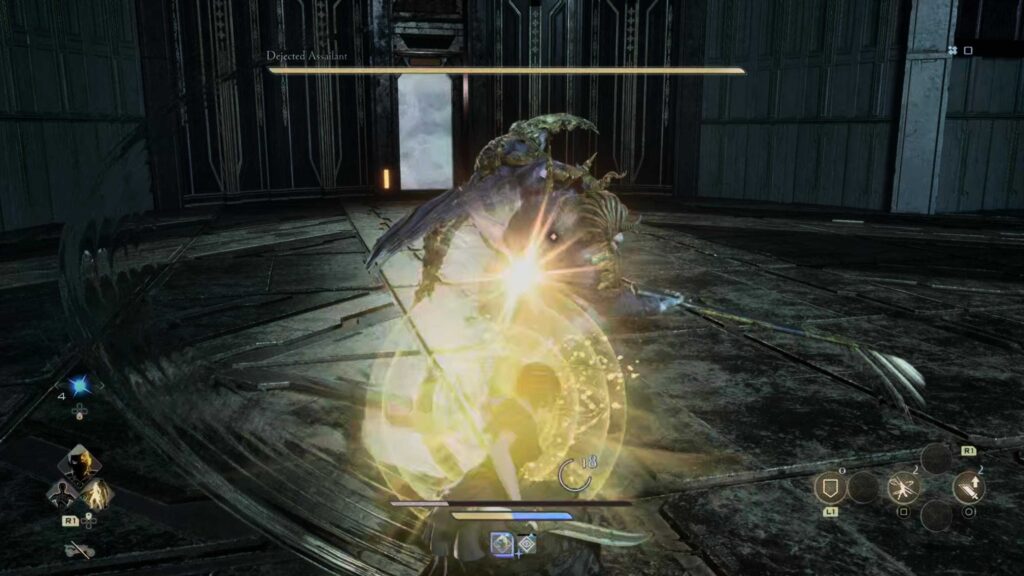
Phase 1
The Dejected Assailant is a tall enemy with a long sword and big claws. Primarily, this enemy attacks at close range with a flurry of three to four attacks. These can be a series of sweeping attacks that hit a wide and far radius in which they sweep their sword, then thrust, then sweep again, with an occasional claw swipe in there. Another attack chain involves swiping the claw twice, then slamming it on the ground. Guarding is the best option in both case,s but be careful when the Assailant slams on the ground, as this can hit past a block to still deal damage, so dodging is the best option here.
The biggest threat, especially in this phase, is a forward thrust that can close the distance of almost the entirety of the battleground. This makes it very difficult to heal, as backing off to do so might typically seem like the boss reacts before the animation ends to reach and hit you. Even more significantly, this attack can push you into a wall, which may cause the camera to become unstable as you are bombarded with attacks that are barely visible. Thankfully, as in all things in this game, you have an ally to help you fight. Occasionally, the boss will jump in the air and fire three tracking orbs at you. These are easy to block.
Playing close tends to be better given how fast the distance between you both can be closed, so block and dodge the combos, mainly to come out the other side with room to hit the assailant with a few attacks before backing out. The primary hope, as sad as this is, is that every so often they will get distracted by your ally and give you a few openings to attack from behind. Be careful of the combos, as the standard slash gives you a good window; however, there is a charged attack that can hit the entire radius around that covers this blind spot. Its easy to tell, though, when its coming as it is telegraphed.
Using the twin blades, I was able to spam my relentless sword dance during these moments to rack up damage. Combine this with Adrenaline for a slight buff to the attack and really deal damage. Be careful, as the sweeping attacks can move the boss out of range so make it a point to stop attacking if they get too far. Around the three-quarter point on its health bar, the Assailant will stop taking damage to let out a yell. Back off, as this can knock you, and you can’t inflict damage anyway and let this happen. Nothing changes after this so continue to black at least semi-defensively until the opening presents itself, usually through the boss turning to attack your partner to press the attack. I found that after combos, hitting a siphon attack to charge your specials before backing off slightly was a good play.
The big kicker to ‘hard’ enemies here is they don’t flinch, meaning that in between combo’s you mostly get the time the enemy resets to attack, and dodging or blocking out of a combo can be longer than your enemy gets to move. A smart strategy, since upon death your ally revives you, then goes on cooldown to respawn before the process can be repeated, is to allow that to happen during the first phase, saving your heals for the second portion of the fight.
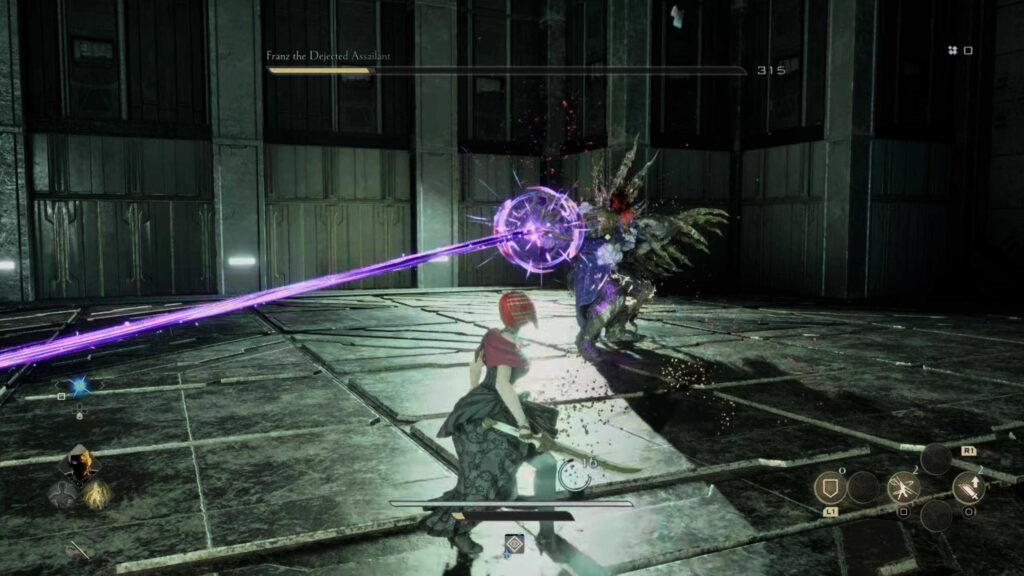
Phase 2
After a cutscene plays, you enter the second portion of the fight, which is, logistically, easier, but with more to contend with. The most destructive additions to combos are that the ground slam now has a far more painful follow-up slam that is almost guaranteed to break through your defense. The boss also now has a teleportation attack that sees it leap above you and slash down with an unblockable attack. Both of these moves are best defended against by dodging rather than blocking. Another move performed here is a claw swipe, where the boss digs their claw into the ground and moves toward you to swipe up, but this is weirdly slow and cumbersome. Easy to block or dodge, and a window for counter.
In addition, the enemy now has a purple beam and read beam that it uses. The purple is most commonly used in a left-to-right sweep along the ground with a follow-up going back. A well-timed dodge can avoid it even if you are where it hits. The best maneuver here, since this opens up for counter, is to run straight in, dodging the beams, then punishing the boss on the side with special moves. Other attacks with this include a beam straight at you with long range and minimal indication that you should dodge, and a close-range whirlwind coming out of the hand. Getting hit by this beam causes a petrification-like status effect that almost guarantees you get punished with another attack, though you can break out in time.
On the flip side, the red forms a lengthy and wide beam you need to run towards the left of the screen (at least that seemed to have the best outcome for me) to avoid it. It is pretty easy to see coming as the boss lifts his hand above his head, and a red ball forms before shooting it towards you. Run and dodge, and you should be good at escaping it. Like almost everything in the second phase, there is much more room to punish
While the second form features a lot of teleportation and devastating attacks that cannot be blocked, the enemy plays further back a lot more, allowing you to heal without as much threat as the first stage. Each attack also lends itself to much more aggressive punishment, with Relentless Sword Dance being a great choice for milking damage. During this phase, you should also be able to break Franz to allow for a Special Drain attack as well, for some additional damage that can be exploited. Avoid serious damage, but this is a much easier form than the first.
Keeping this up, you should see yourself achieve victory before too long, and for your effor,t you get a few rewards. The first is the Supurbia Bloodline: Franz blood code you can equip, with the second being the Battle Axe Idris’s Conceit Bequeathed Forma. You will also unlock the A Friend’s Wish trophy/achievement for beating this boss. The A Bridge to the Future trophy/achievement will also unlock upon returning to the present timeline from the roof of the tower, a direct result of this victory.
Remember to follow us on Twitter, Facebook, and Bluesky to keep up to date on everything we have going on!