
*Minor spoilers for Herdling are contained below
Near the end of Chapter 2, Countryside in Herdling, there is a moment where, while running down a hill of flowers, a train barrels along the tracks with both you and it converging at a tunnel at the bottom that leads you to the next area. Maximum Zommies, as the name of this trophy/achievement implies, involves speeding alongside this train, reaching this convergence point at almost the same time. In order to do this, you need to have a grasp of the concept of stampede, which you learn earlier in this level.
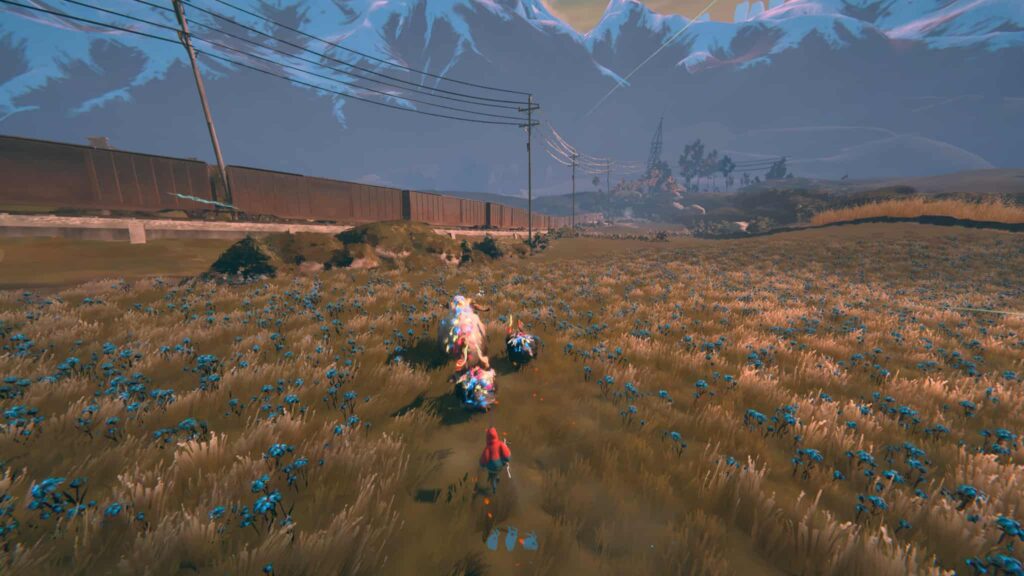
As you make your way through the countryside, you eventually reach a point with branching pathways; one is an open field, while the other leads under a bridge. While I cannot confirm this with One Hundred percent certainty, take the path under the bridge, as this seems to feed out into the hill from a shorter angle. This bridge itself is for a train, and as soon as you enter this area, you will see a house on your right. Travel through and, when in this next area, by crossing under another train bridge, make sure you have a full boost. The way you can tell is if all of your Herdling creatures have colors in their fur or blue indicators on the bottom screen. This gives you a max of three boosts since you should only be leading three at this point.
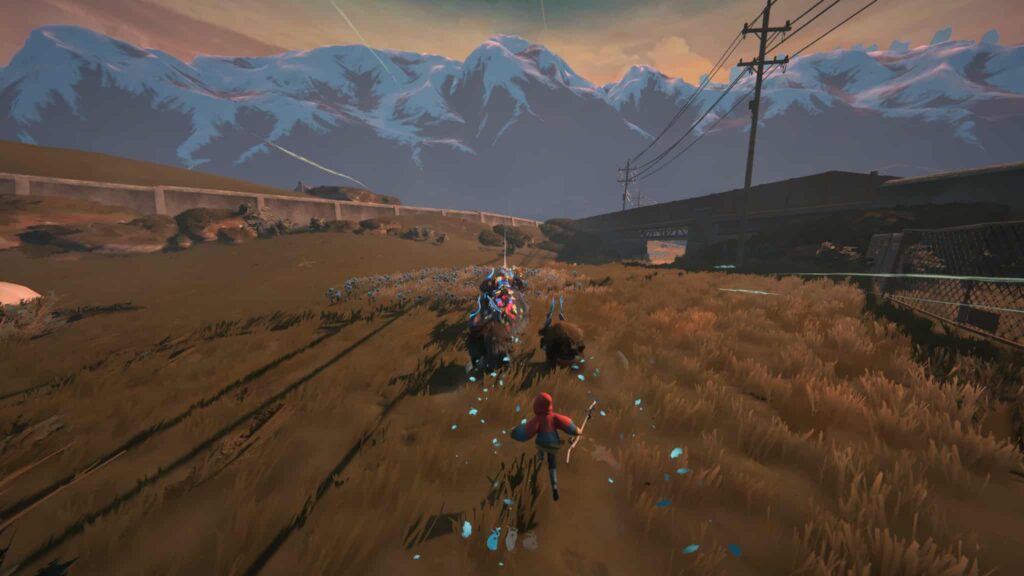
As soon as you pass under the bridge, hit the boosts to clear a short area with nothing to replenish these before the hill. Once on the hill, you will be running through a lot of flowers, giving you the freedom to constantly spam the stampede ability. Prep yourself for it by holding the R2 and then pressing it as soon as you think your herd will slow, though you can spam it before this easily since it will quickly replenish. You should hear the train on your left side, then see it. It will pass you; you cannot avoid that. The best goal here is to try to angle your herd towards the center of the hill rather than allowing them to slip left or right, as you will lose valuable seconds.
At the bottom of the hill, the flowers that are what give you a boost will end, and there is still a distance you need to clear. Hit a boost near the bottom so you can regain boost, but still clear a distance on that last boost. You will see two obstacles on the path, both thickets that you can boost through, so aim for the one on the left side, which is closer to the tunnel, and you shouldn’t lose speed as long as you hit this at top speed. Two thickets on the right side can be ignored altogether. More importantly, keep left since boost will probably run out near the final thicket on the right, where one attempt of mine ended up getting stuck there.
If you avoid that boost should end right around when you slip onto the tracks and reach the tunnel. The Maximum Zoomies trophy/achievement will pop when you reach the tunnel; you do not need to pass through. Also, once the train enters the tunnel, it will vanish, so do not panic if you don’t see it. You are afforded a few seconds between when it enters and when you reach the tunnel, so it does not need to be RIGHT after. One Note, there are two autosave points near the bottom of the hill, so if you need to retry, you need to reload the chapter and make the long trek back.
Remember to follow us on Twitter, Facebook, and Bluesky to keep up to date on everything we have going on!