 During Order 12 In Death Stranding 2: On The Beach")
This guide contains spoilers for Death Stranding 2: On the Beach.
So you finally made your way over to West Fort Knox in Australia in Death Stranding 2: On The Beach, and you’re ready to call it a day, link up with the city with the rest of the Chiral Network, get a private room, and sleep the road off. Before that, though, you reach the gigantic tar pit outside that you were sent there to investigate, and if you have learned anything up to this point, this much tar can only mean one thing: you are about to get attacked by something more than your usual BT. What you probably don’t expect, it is a Tentacle Mech meant to surpass Metal Gear. If you come prepared and use a little strategy, you might just survive, and we are going to help.
Preparations
Knowing you are going into this, it is important to know what to bring, and my recommendation would be a few MP guns and blood bags. By this point, you will have a few choices to go with, and this comes down to how you want to play this. If you want to try to stay out of range of the mech, the assault rifle is the way to go. The enemy has attacks that cover a fairly long distance, so this can keep you just out of range of them while still giving you the ability to attack. If you don’t might contend with this, go with the shotgun. You will need to be closer and read attacks more to dodge, but this can deal a little more damage. It is important to note that RB bullets will not have any effect on this enemy, so avoid bringing them.
Blood bags are passively attached to Sam, for if he takes damage, with blood being the metric, if you are about to die. Dollman, Sam’s ally, will call out if your health is low or if an attack is coming, so make sure to listen to him, but with a blood bag, even if you take a hit, you will passively heal. Something good to have attached to your pack in the Ammo pouch so that you can rely on one gun rather than multiple, but either way is not the worst. Make sure to drop at the edge of the pit what you don’t need, for better mobility.
The Fight
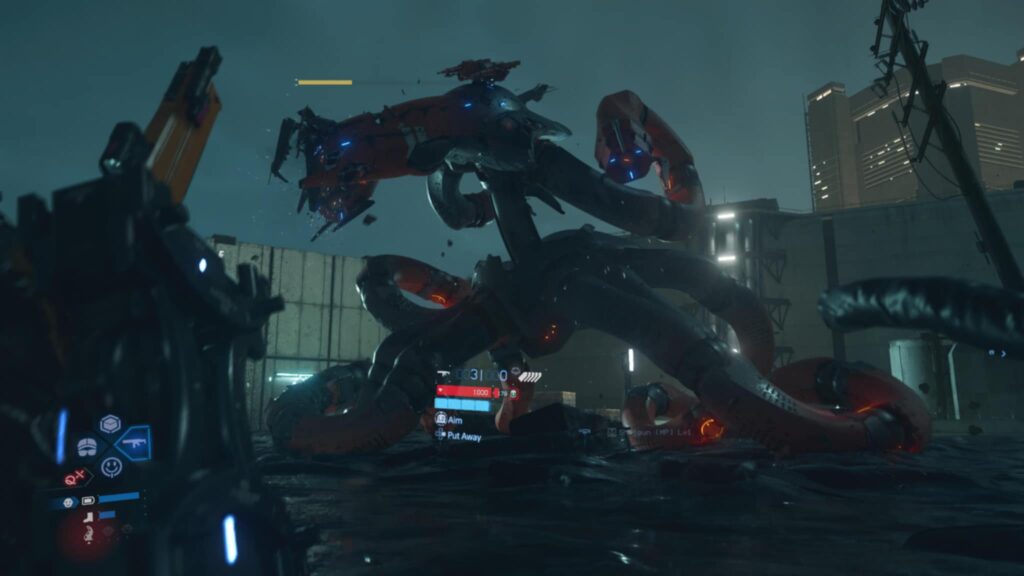
The mech you are fighting can be damaged just but shooting it, but you will notice that it has a series of weak points on its body. These are circular portions with a red glowing light located in the center of each tentacle and on its back thorax as well. It also has a big, shootable red one on its face. You can do more damage by hitting these, so that is going to be the goal. Hitting these points enough will cause a slow-motion explosion as the part is scrapped, which is a common effect while fighting enemies. Here, though, you can take advantage of it as it makes targeting a remaining weak point, which often moves around fast, a lot easier, as the enemy is static and they are slowed to a halt. When slow motion starts, quickly switch targets and unload.
There are a few moves the enemy deploys, but the most common are a sweeping attack with all tentacles swiping at you horizontally in one line, and the other is a vertical attack with three of the tentacles spaced coming down vertically. If you are fighting from a range, backing up quickly will often give you the space you need to completely avoid these. Just mind the barrier of the fight area, which can be hard to actually see till you’re right up against it. The vertical swipe, in particular, gives you a few seconds to press the attack on the weak spots. Choosing to go with the shotgun at a close distance, the enemy will occasionally throw their body at you. Mixed in with these attacks, from both ranges, the dodge is useful just to make sure you don’t get hit, but situational awareness when engaging at close range is a must.
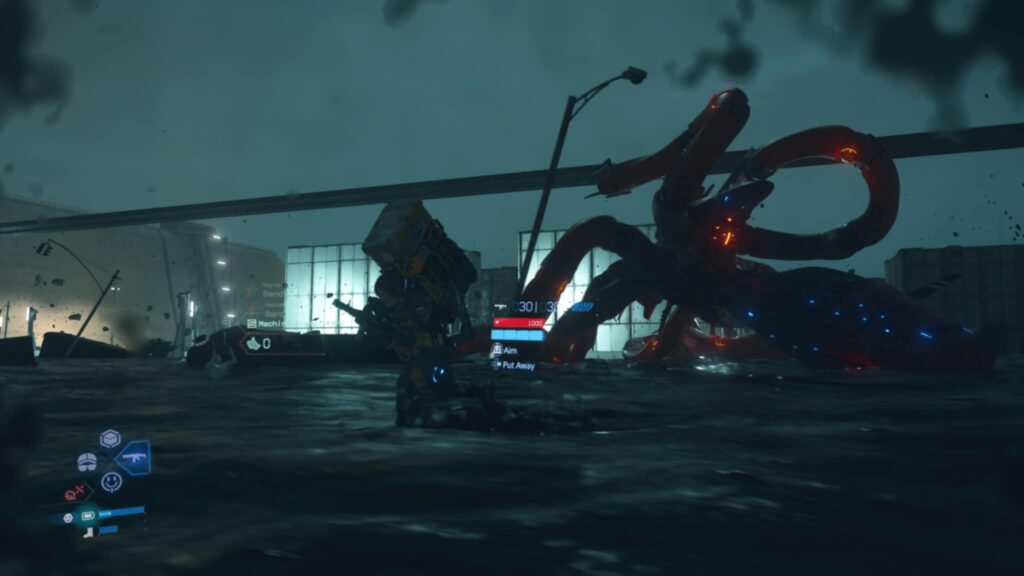
The machine has two states it is usually in, one where it is lower on the ground, which has a close-range attack but quick attack, while it can also move around on its tentacles and attack with far more range but a much easier projection. These styles do tend to switch based on how close you are in proximity to the enemy, so make sure to react accordingly when you see it switch up the attacks it will go with. Since most of its attacks are verticle, trying to figure out the pacing is good as they always come down at the same distance apart. You might be tempted to dodge, but Sam’s dodge is a little clunky, and you can lose a precious opening if you are not careful. When these come down, if you happen to simply avoid them between the tentacles, you can quickly target the weak point nearest you for an almost free counterattack. Dodging should remain a last resort if you think you are absolutely going to get hit if you don’t.
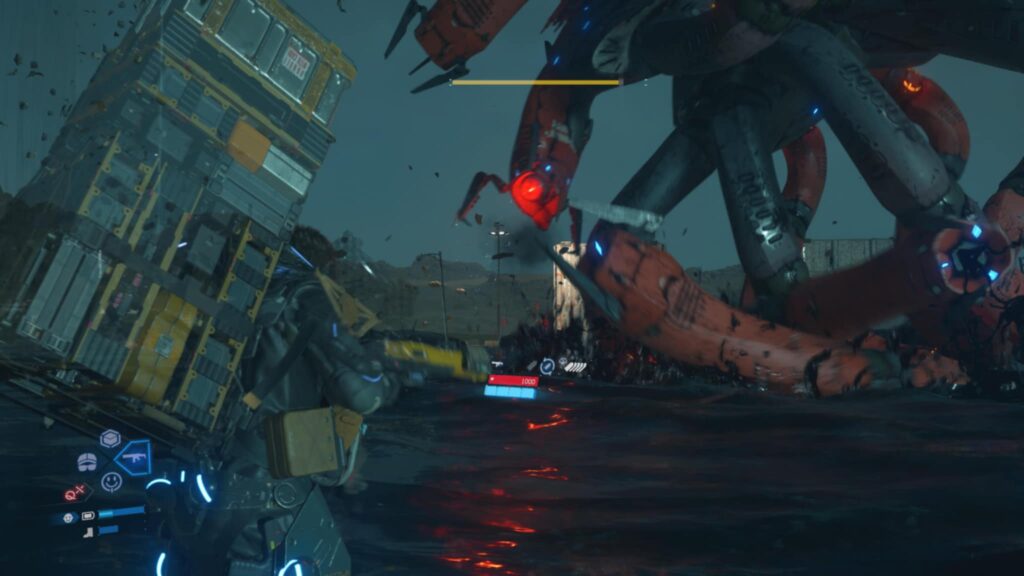
Eventually, the enemy will go with a wider sweeping body attack around the mid-point, getting low on the ground and dragging itself across the tar pit. This isn’t by any means a powerful attack, but it’s not one that is common, so it caught me off guard and proved to be the most damaging in my run. Maybe being so familiar with Soulslike, I expected this to be a new start to the boss with more moves, but no, in fact, after this move, he returned to the few others I was familiar with, so rince and repeat the strategy that got you this far till you drain the mech of the last of its health and you have won. Boss fights in Death Stranding 2: On The Beach are fights of attrition more than anything else, and as long as you take care of replenishing your lost blood, you should be able to survive everything this tentacle mech throws at you, but knowing how to avoid the attacks is a definite plus.
Additional Information
Death Stranding 2: On the Beach knows it is a game about inventory management, which can go right out the window when fighting a big boss like this in a closed-off arena. As such, should you run out of gear, the tar pit will eventually give you more so you aren’t dead in the water. How it provides them can be random, with the items being there right when you run out, or you being forced to run around a short bit until you are provided in the form of white characters that appear from the tar and toss them. There are a few items you can expect to receive, but they will only provide MP guns for use, with healing items like blood bags appearing as well. Since the moment you turn away from the boss to check the area for a drop could be your last, being prepped is a plus, but don’t panic if you actually run out; the game has got you covered.
In addition, to paraphrase LT. Aldo Raines, the problem with fighting in a tar pit is you’re fighting in a damn tar pit. While not as limiting as the ones you get stuck in when a BT catches you, expect your mobility to be down as you slog around the battlefield. This is why watching to see if the enemy moves its tentacles up or to the side is so important, allowing you the time to react when the game puts a penalty on your reaction speed. This is why I also attempted to play back rather than up close, so I knew I could react in time. Expect the mech to have no penalty, though, so if you do choose to play on the back foot, it can easily close the distance when it wants to, but if it chooses to attack, that distance can be made up easily.
Want More Death Stranding 2: On The Beach guides to help you on your quest to restore the Chiral Network? Here is a general guide to get you started, as well as this guide to help you access the Motherhood Shelter.
Remember to follow us on Twitter, Facebook, and Bluesky to keep up to date on everything we have going on!