
Resident Evil Requiem features a multitude of Safes as you explore certain areas that offer a few items that can aid you as you try to survive the onslaught of Horrors you will encounter. Below, we will outline where you can find these safes, what their combinations are, and what items they will give the player. It should also be noted that while Casual and Normal difficulties feature the same code, the Insanity difficulty, which is unlocked after beating the game, will have altered codes.
Safes can only be accessed while playing as Grace, and each has a corresponding document that tells you their code.
Bar & Lounge Safe
The bar & lounge in the west wing is the first location the player will come across, where one of these safes is located. There are a few enemies located around here to clear out, including a screaming enemy, so clear this out, then head behind the bar counter to find the safe. This is also where Grace finds the gun that was taken from her in a previous chapter.
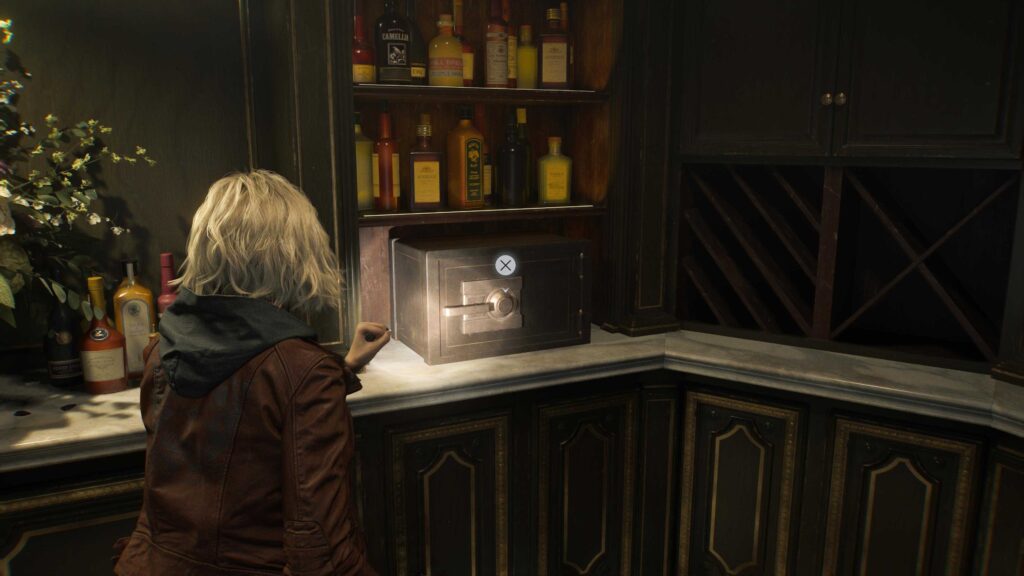
Documents: The Bar & Safe Code documentation is found in the office area. It is mixed in with a few other papers as part of a file that has been spread out on the desk, next to a disconnected computer.
Combinations: On Casual/Normal turn the dial 10 left, 80 right, then 30 left again. On insanity difficulty, turn 20 right, 50 left, then 30 right again.
Contents: On all difficulties, this safe contains three Antique Coins.
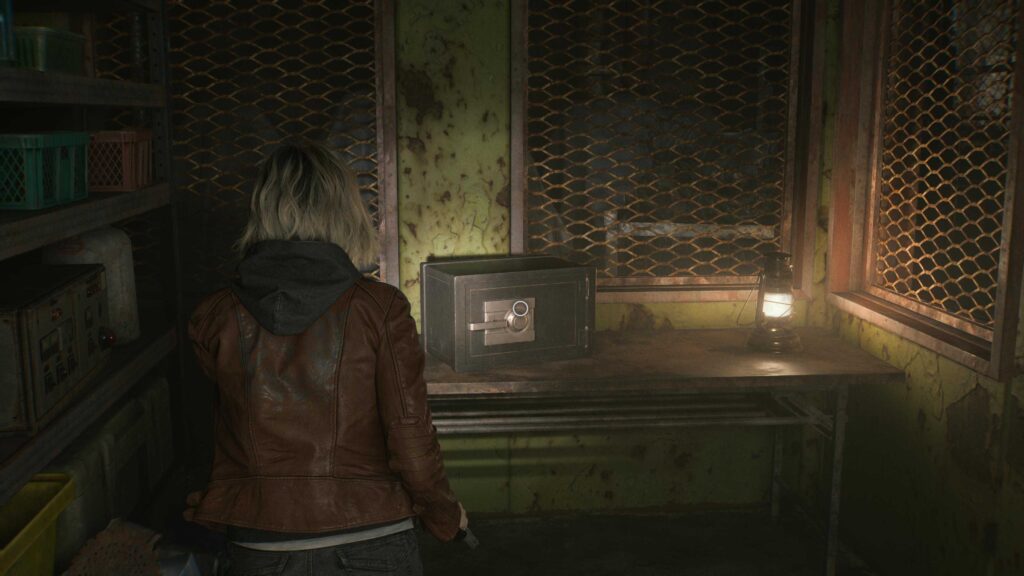
Examination Room Safe
This safe is located in the examination room, which is identifiable due to the corpse with an open chest cavity that you will interact with for another puzzle in the game. It is located on some shelving in the back of the room, with one or two enemies nearby that you might want to clear, but might not be close enough to pose an issue.

Documents: After heading upstairs towards the lead researcher’s office, when going to grab the clearance level 1 wristband on the floor, a blobous monster will appear and start chasing. You can kill it or run away, leading it out of the area. Either way, when free and clear, loop back and head to the end of the hallway, where you will find the Examination Room Safe Code document on a locker that has fallen over.
Combinations: On Casual/Normal turn 30 right, 10 left, and 50 right. On Insanity, turn the dial 50 left, 30 right, 90 left.
Contents: On all difficulties, this safe contains 3 antique coins.
Basement Safe
After completing the main portion of the care center, the next time you join Grace, she will be in the basement of the facility. There is only one safe in this area, located near processing, in a small room with a forklift nearby. As you progress with the main puzzle of finding three batteries, you will find the second battery you need right past this room.
Documents: Weirdly, this is the only safe that Grace can’t find the code for herself. In actuality, between the care center and the basement is a Leon segment in which Leon traverses the attic. Near the end of this area is a warped cabinet that Leon needs to pry open with his hatchet. Here you will find the Basement Safe Code file. Grace will have access to the file through the menu despite never having seen it. Magic, I guess.
Combinations: On Casual/Normal, you will need to turn the dial 60 right, 40 left, then 80 right. On Insanity, the code is 70 left, 50 right, 20 left.
Contents: On Casual/Normal, or first playthrough, it contains a box of handgun ammo and the valuable Raccoon Roundup Map (Rhodes Hill). Had you opened the safe before, on the Insanity difficulty, it would only offer a box of Handgun Ammo.
ARK Sterilization Chamber Safe
This area is found much later during the game, when the player takes control of Grace again as she begins to explore a region known as the ARK. This safe will be found in the area where Grace has her first interactions with the licker enemies and is found on the other side of a room with broken glass, next to an intact window. You can choose to clear the licker if you want, though there are a few enemies nearby that could come running if you don’t take it out with stealth.
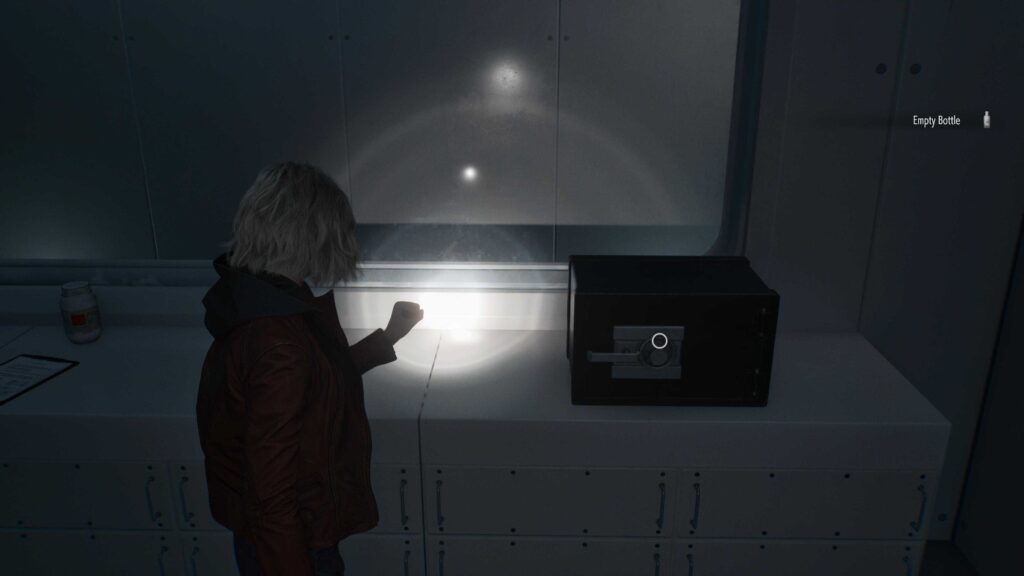
They can’t see you, only hear, so if you sneak around the left side, avoiding the glass, you can reach the safe and leave with the enemy none the wiser.
Documents: The Sterilization Chamber Safe Code document for this safe is found a little later on in an umbrella logoed storage container in an area known as Bioweapon Repository 05. There are many more enemies here, so be careful.
Combinations: On Casual/Normal difficulty, turn 10 right, 90 left, then 20 right. On Insanity difficulty, the code is 80 left, 50 right, then left to 0.
Contents: On all difficulties, your reward for opening this safe is handgun ammo, a Molotov cocktail, and a med injector.
ARK Monitor Control Room
This final safe is located in the monitor control room, which is found in the same area as the door you need to enter to progress the narrative, with a red walkway along the ground heading towards a staircase leading to Bioweapon Repository 05. The safe is on a counter against the wall behind a desk in the room.
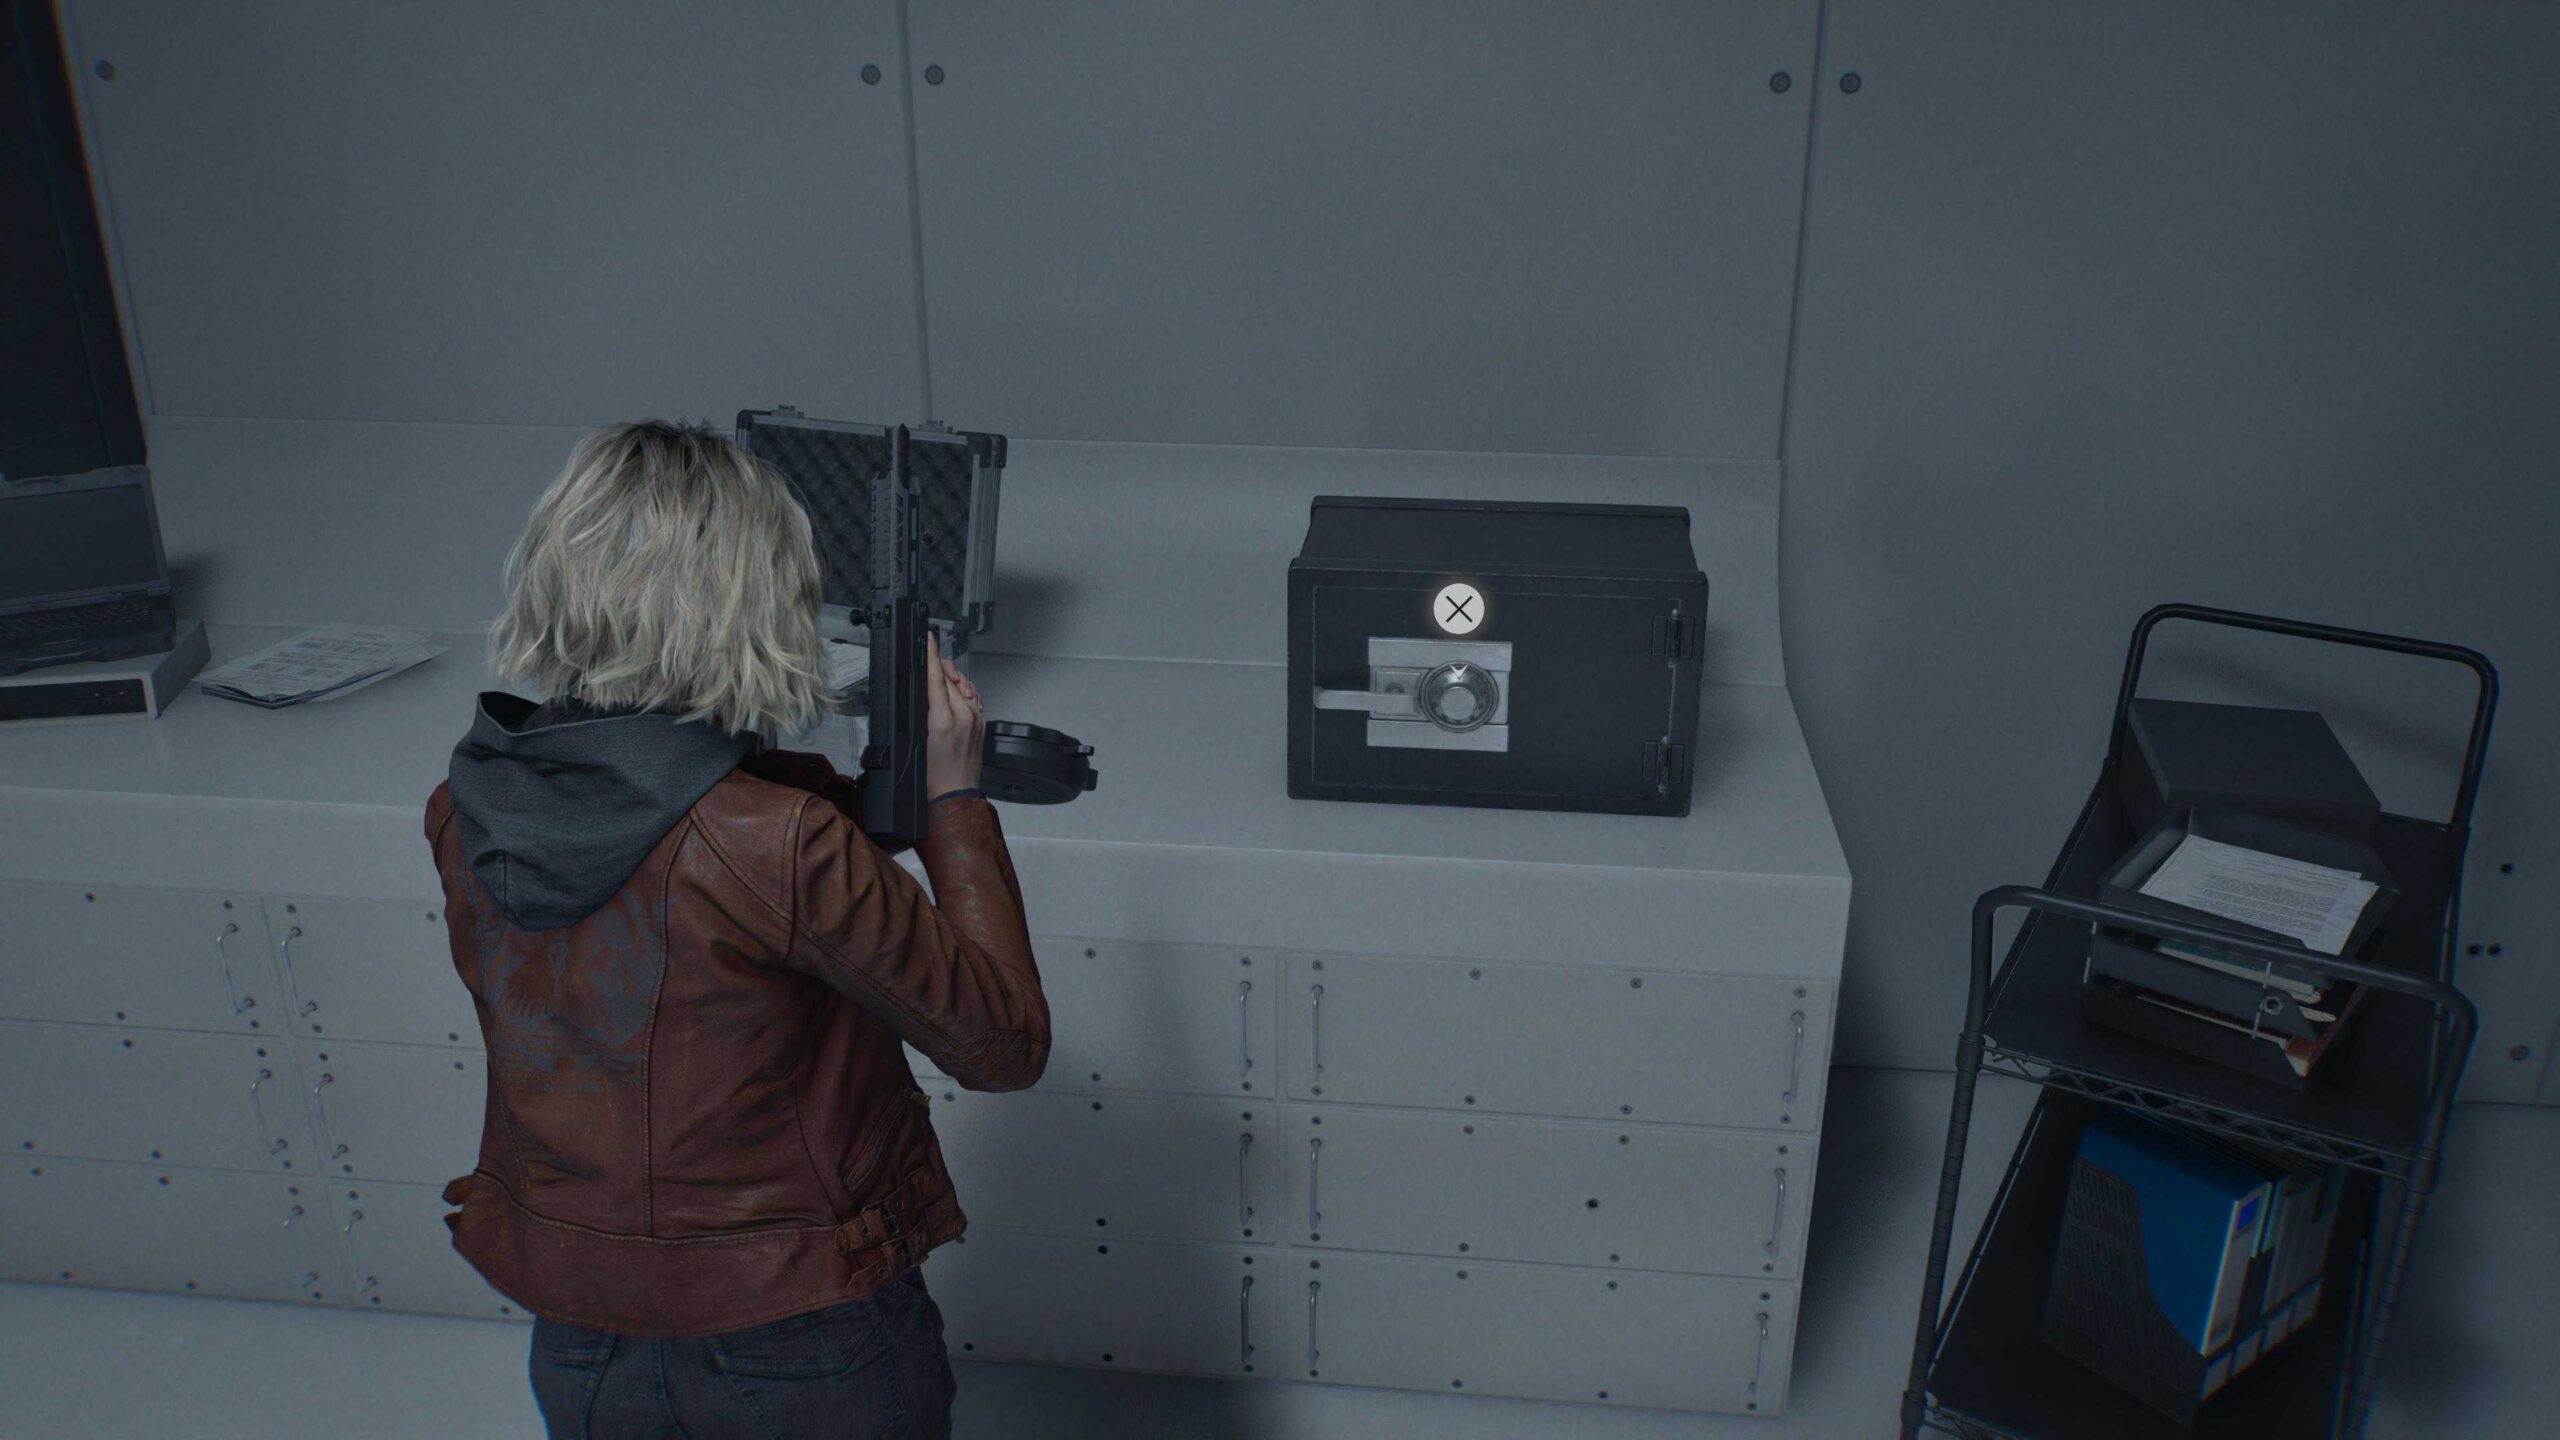
Documents: The document for this safe can be annoying. Similar to the previous one, it is located in the Repository in a northeast container. Unfortunatly this container is along the intersecting path of a few enemies, so you will want to clear these before grabbing the Monitor Control Room Safe document and double back.
Combinations: On Casual/normal difficulty, the combination is 50 right, 60 left, and 80 right. On Insanity difficulty, the code will be 20 right, left to 0, and then 70 right.
Contents: For opening this safe, you will receive a bottle of acid, an empty bottle, and a med injector.
And with that, you have unlocked every safe in the Resident Evil Requiem. For doing so, you will also receive the No Safe is Safe trophy/achievement. If you are looking for more help, such as how to access the bonus content once you complete the game, you can check our guide here.
Remember to follow us on Twitter, Facebook, and Bluesky to keep up to date on everything we have going on!