
*This walkthrough is conducted on the Hard Difficulty and contains spoilers for Silent Hill f
The Outskirts
After being introduced to player characters, Hinako and her less-than-perfect home life, she storms out of the house and into the first area of the game that players can explore. You can take a walk around her house if you want to see a pretty accurate representation of country living; otherwise, take the path on the left from her front door to find a house tucked away on a hill behind her house. Directly in front of the entrance, from here is a pathway with a sign that you can check. Otherwise, the most noticeable thing about this area is a newspaper article on the bench in front of the house. Pick it up to get the Article: Serious Issues in Ebisugaka document to start your collection.
Next, head back down the path, past your house, and toward the town proper. As you go you will see a house, the first after your own. The front door area is a little obscured from view, but if you head into the nook, you will see the Local Doctors’ Note document sitting next to some potted plants. Grab it and continue down the path. There is a home with a garden right in front of you, but nothing really of any value here, so you can keep going down the road if you prefer. As you go, you will encounter your first Hokora, which is where you manually save the game or change costumes… Now… These will have an expanded role later on, but for now, save if you feel you need to, then keep going.
Dip around the other side of the house that the Hokora is against for some interactables, then either take the stone stairs right behind that into the garden, or head back to the main path. From the main path, near the end, if you choose to take it, is a tiny, almost hidden path that leads to an inari shrine. Heading here gets you a journal entry entitled Inari-sama that you can view through the journal option on the pause screen. From the stone staircase, on the other side, you would only need to turn left to see it. There is another house on the path you can look around, but again, not much to see, so head back down the path, which should now give you a good look at the town proper, so you know you are almost there.
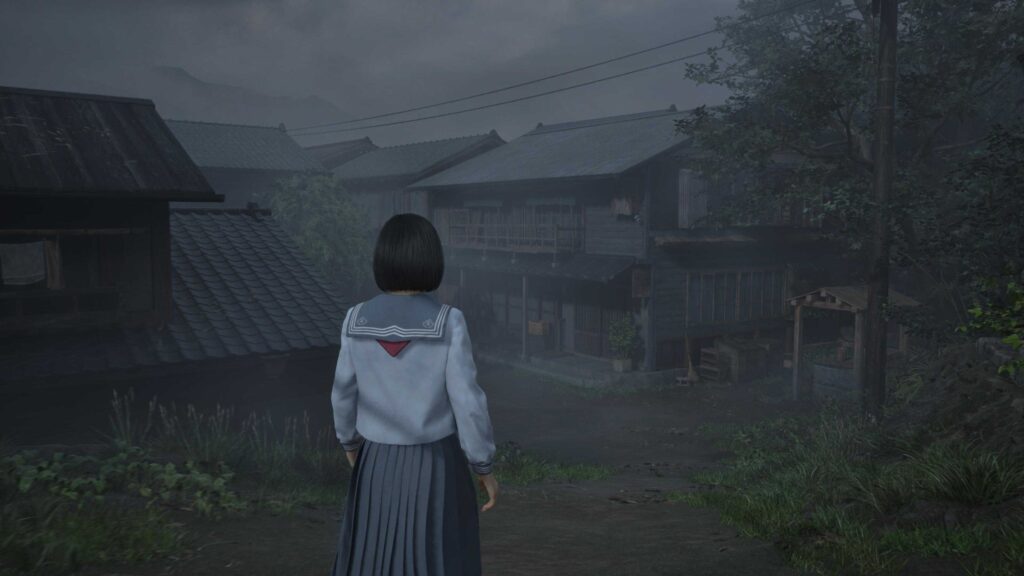
As she heads down this road, she comments ‘Where is everyone?” and you might have noticed the town is completely empty thus far, an indicator that we might have already entered whatever version of the titular Silent Hill is associated with this town. There are two houses on the way down the hill, but ducking to the left, the second house will have a newspaper article next to a red post box, a document entitled Article: Serious Issues in Ebisugaka. This is not deja vu; this newspaper clipping will continue the narrative of the one you previously found and is viewed by clicking on that document in the documents tab. New info being added is indicated with a red circle. You are now free to travel back down the path until you reach a truck blocking your path, at which point a cutscene plays out.
Meeting With Friends
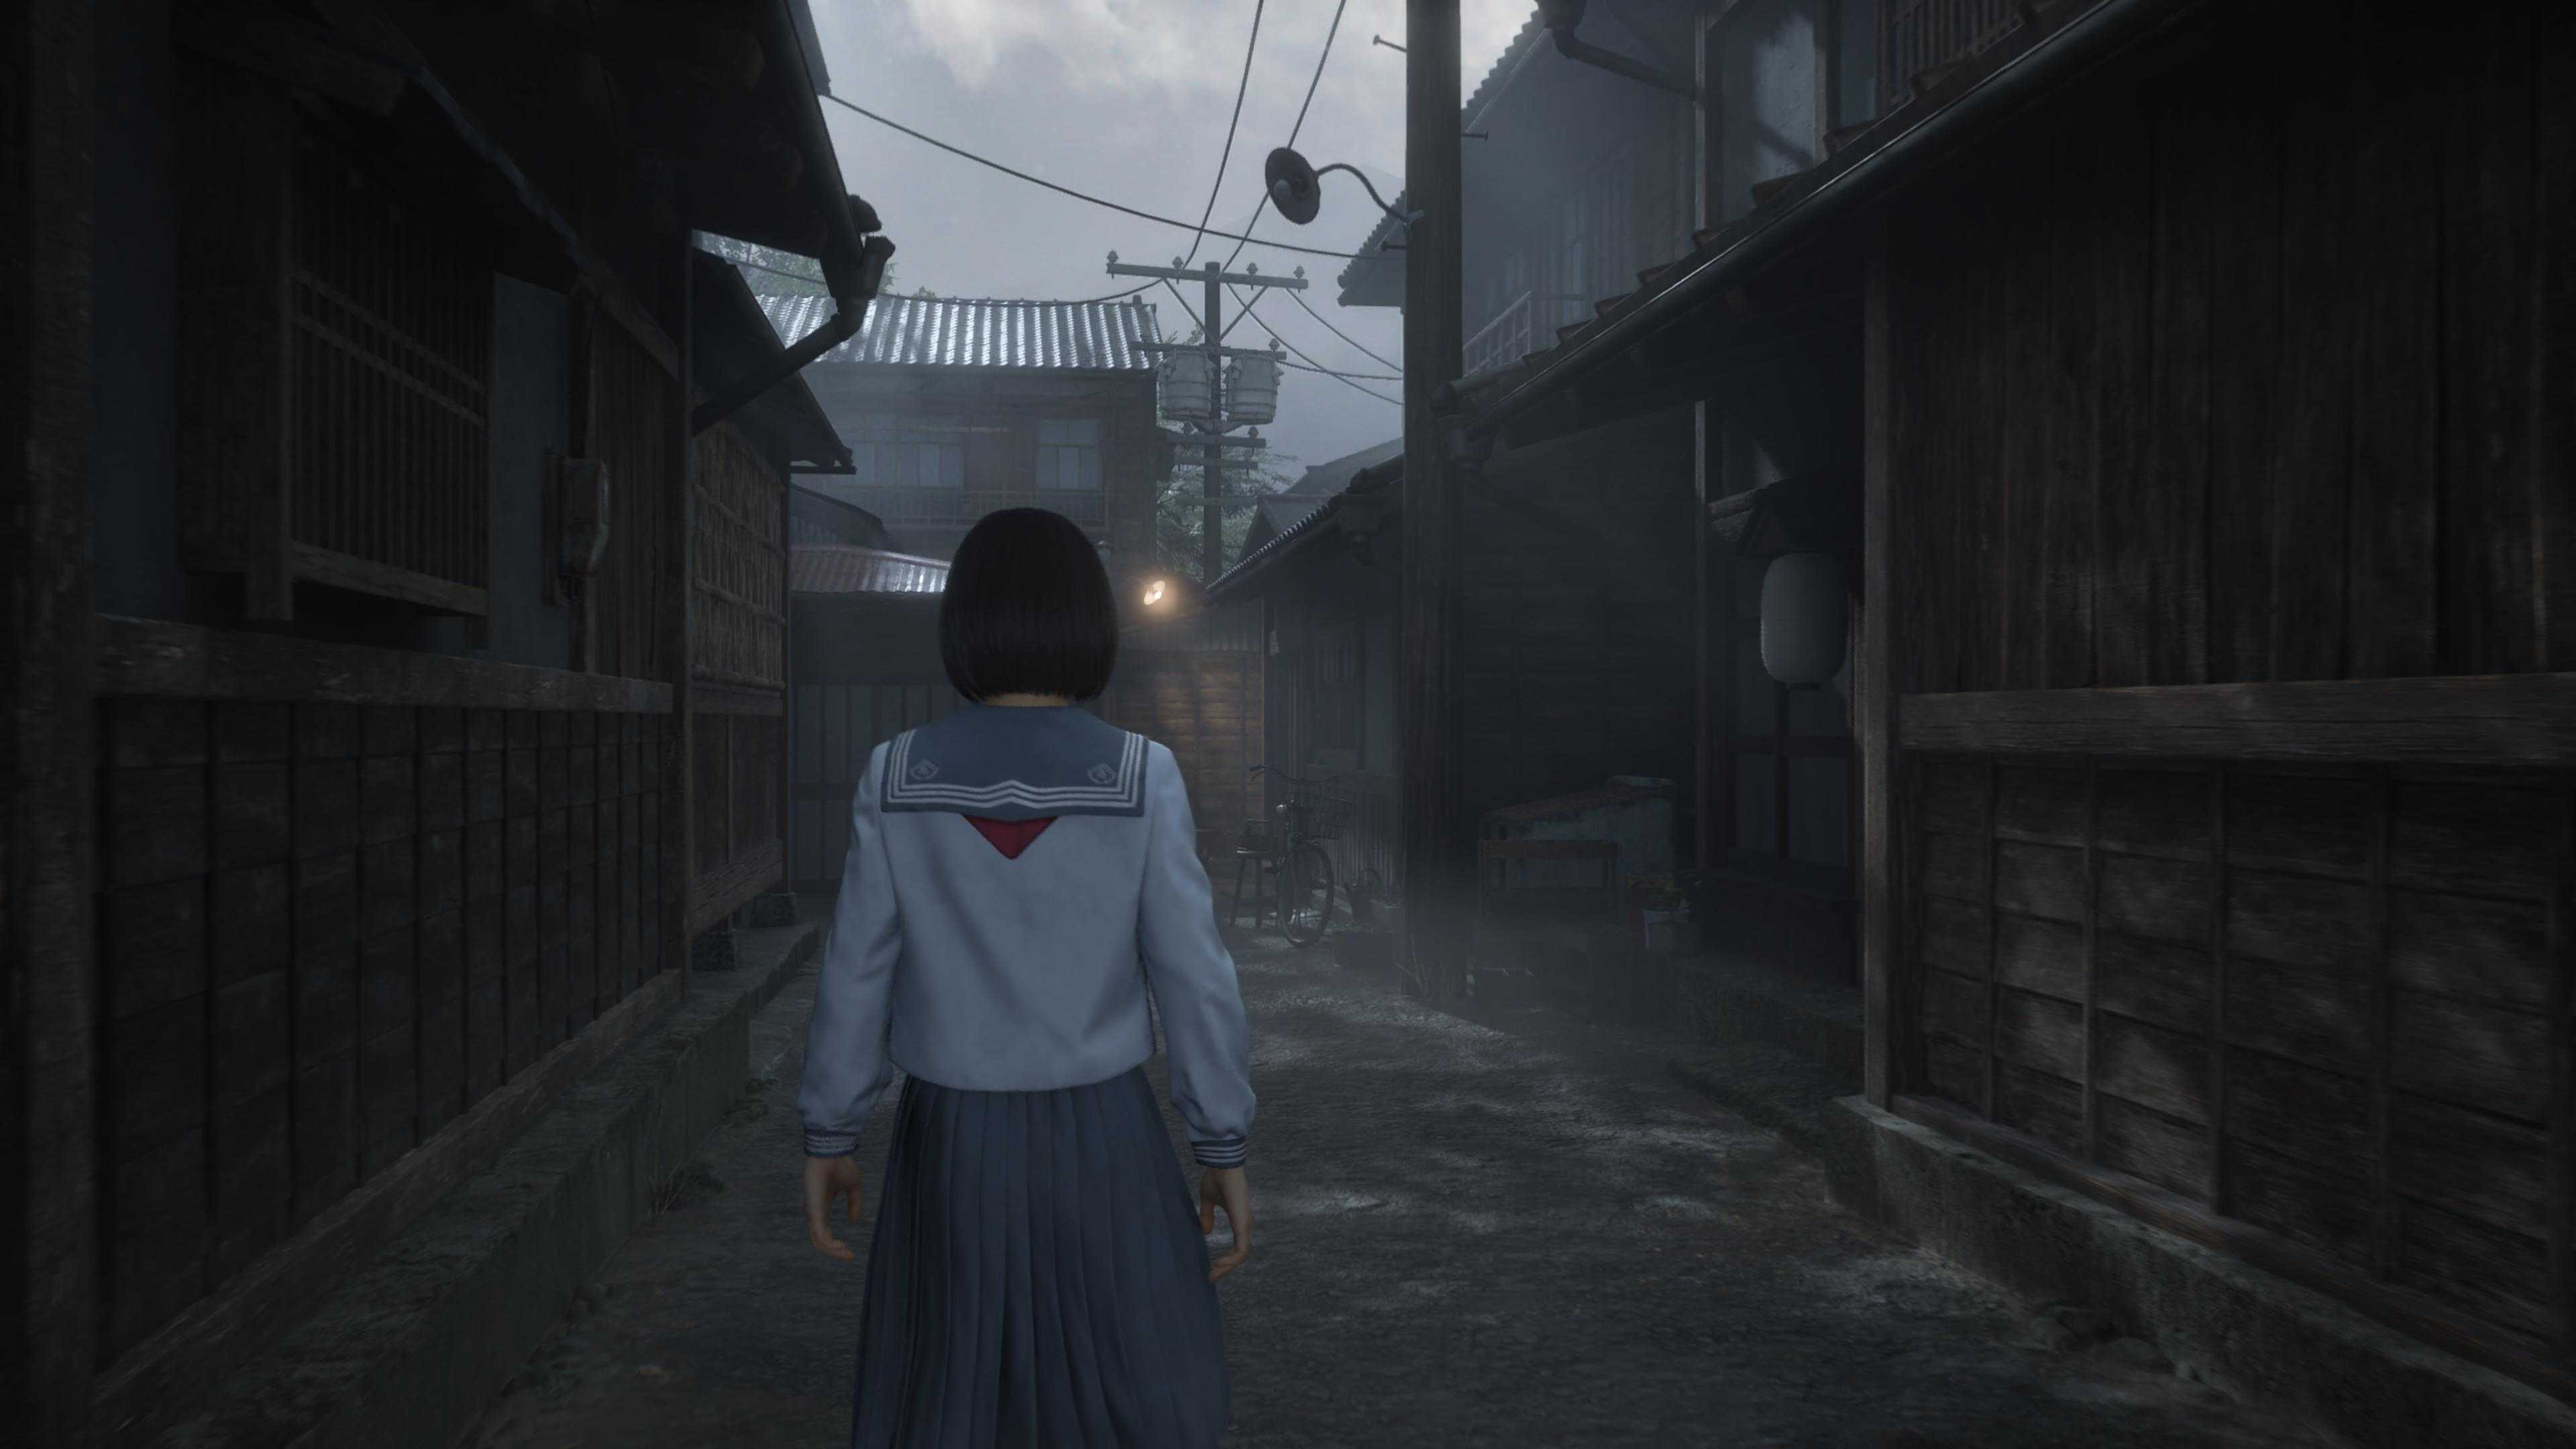
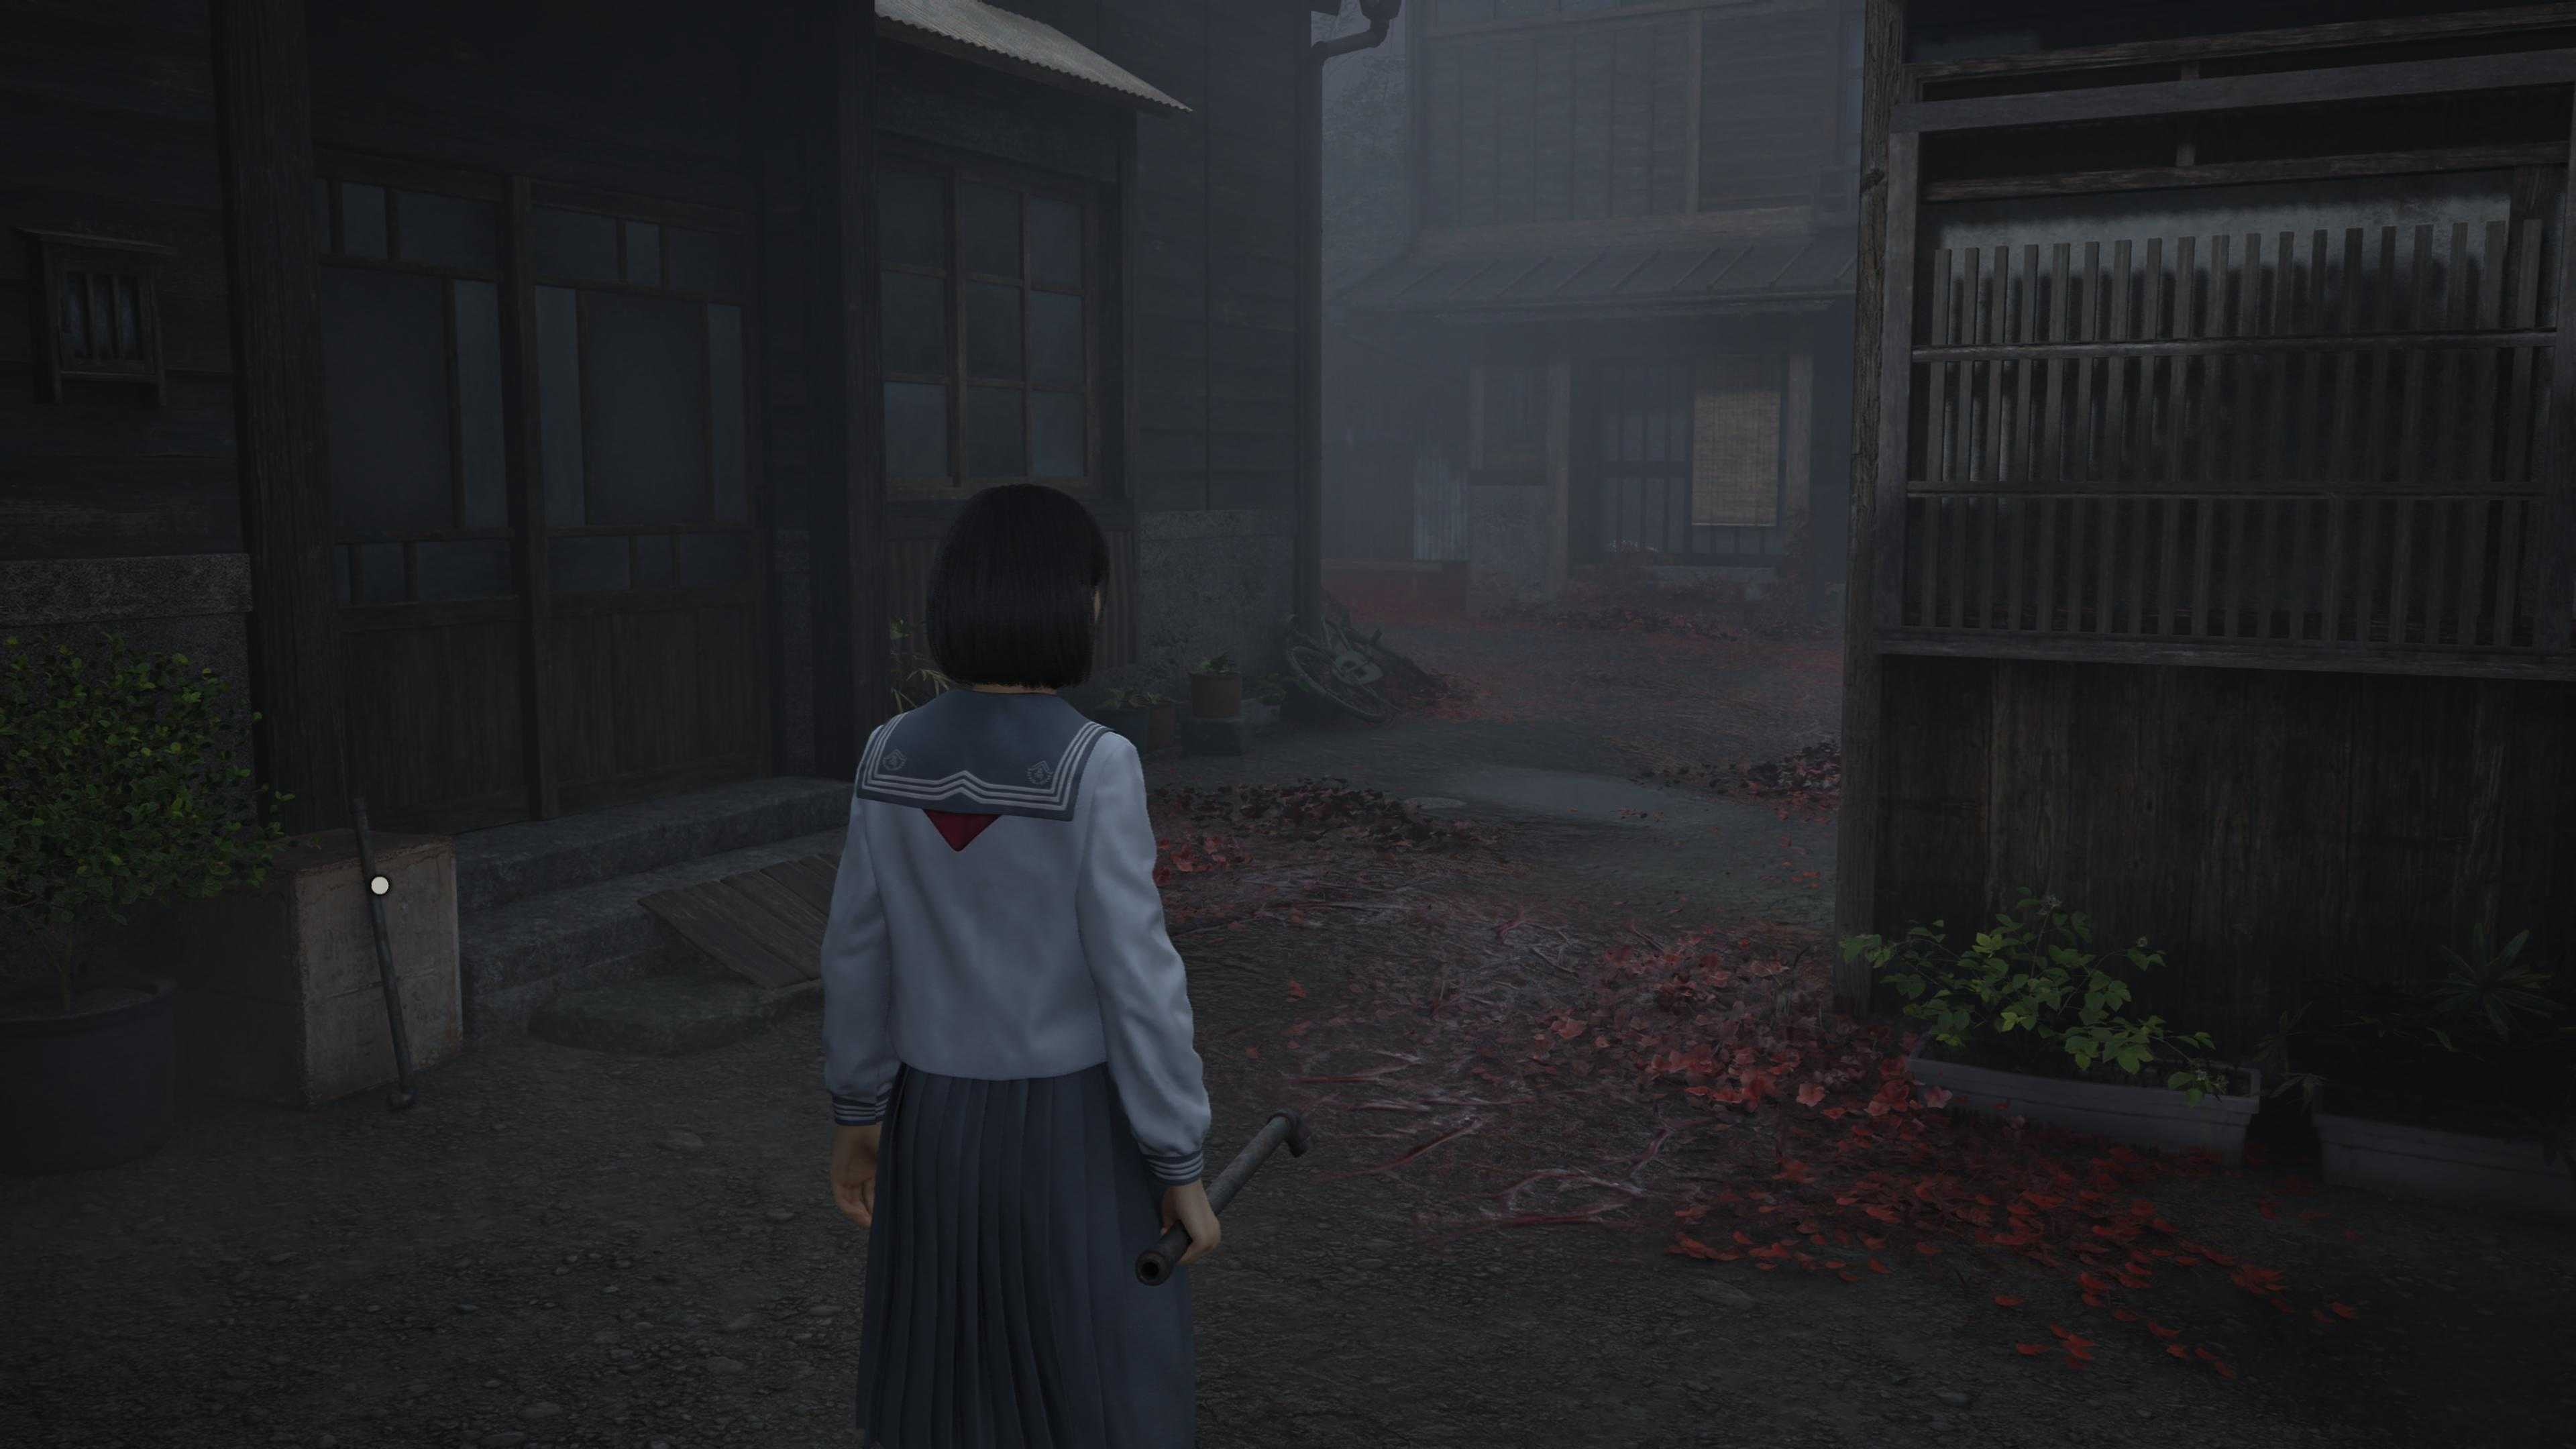
We have now reached the town of Ebisugaka. With the truck blocking your path, you will be forced to travel the alleyway to your left. You will eventually reach a dead end, but on the right side of the area is a crevasse that you can interact with by pushing the action button to squeeze through. You will hear voices as you navigate the tight squeeze, and a door slamming when you reach the end. Nothing too scary yet, but the tension is building up. Here is another navigable pathway with nothing to do but progress, with a cutscene triggering as you approach the house at the end of the alley with its window open.
Exit past the house once the cutscene has played out, and you will see that you have come out on the other side of the road beyond where the truck was blocking. You can double back to get some dialog near the truck; otherwise, head the opposite way deeper into town, ignoring all the obvious warning signs that your day is going to get so much worse. Head down the next road and see that a fog is starting to roll in. You, the player, probably get the red flags, but Hinako has no way of knowing. Go straight on the road towards the pot hole blocking your path for a prompt that comments on it. The only offshoot road here is the path to take to the next cutscene, where all the buildup finally has its payoff.
As stated above, the walk through town, even in her own words, was off, so you might have always been in Silent Hill, the truck probably being the biggest sign. If we weren’t before, though, we definitely are now. After the insanity of that cutscene, Hinako finds herself running for her life from the flower growths that are hot on her heels, along with her friends, whom we just met. One we will never meet again, but she kept calling me a traitor, so… Not sure how I feel. The first portion of this chase is straightforward, as the player needs to run towards the camera while the city rusts behind her, and an entity in the mist gives chase. A cutscene will then play of her being surrounded and needing to cut into an alley, which is when the real chase begins.
From here, we follow behind Hinako as she runs from the entity and its flowers. Make a right, then later a left, then another right as you wind along this path. Here, as you run, you will encounter a gate, and you hit the action button to jump over it, despite not being able to get over these fences when not being chased for her life. Wood will fall and block your path, so head left. At this point, be careful. You will see tendrils spawn from the walls and, obviously, you are a Japanese Schoolgirl… A Joke that only works because exactly what you expect to happen does. Get too close, and they will grab an arm or leg and tug you, doing damage in the process. Moreover, the flowers catching you are not an insta-kill, but they drain health too, so it is easy for the damage to pile up, and you do get a pretty depressing death screen here if you do not escape. Anyway, there is a branching path on the left here, but ignore it and instead head to the light coming from another small crevasse between buildings. Action button to shimmy through.
Scratch that, tendrils appear inside, so she doubles back. NOW You can take that offshoot path, which is positioned on her right. On her left inside is debris she can duck under, so do so. Two quick rights here will lead her to a road she should take a left on, and now she has a much longer run forward ahead. At a more open area with a well, there will be a few paths, but the correct one is to hang a right. Be careful, as there are a lot of tendrils in this area. Here, the player will become trapped, though it might not be readily apparent, as a cutscene doesn’t trigger right away. When it does, Hinako is given a ladder she climbs to safety… Well… Until the next thing tries to kill her.
Silent Hill
After the cutscene finishes, you should be well aware of the fact that you are no longer safe. To drive home this fact, when you resume control of Hinako, the screen is red, and she desperately needs to heal. As you make your way down the path, she will comment that Shu had given her something, which leads to the player getting their first pack of Red Capsules. Items are hot-keyed and equipped to face buttons, and accessed by pushing L1 and the corresponding button. Heal up quickly, as the next thing that wants to kill you is around the corner. Along the canal path, there are bandages sitting on the ledge to your right as well. Pick those up and keep moving.
The goal here is to make your way back to the Chizuya General Store, where you first got attacked, but obviously, plan for this to take longer than they make it sound. As you move along the linear path and over a stone bridge, you will reach a ladder. This is the way to go, but instead, turn left and down that alley to find a Red Capsule set on a propane tank to pick up. Once done, go back and climb the ladder. There is a dead-end alley on your right, which has a nice view but not much else. A ledge prior to it has an action prompt, so interact and climb over into a new area. Here, there is another tight squeeze you need to interact with to get through.
Head along the path leading away from the wall and down a stone staircase. This is a slightly open area, but there is nothing in it, so you might want to keep moving down the alley. As soon as you reach the alley past this point, a trash bin rolls into view. Go further, and your first deadly, knife-wielding monster will appear and bear down on you. The bad news is that you have no weapon to defend yourself, but the good news is that they are slow. The best way to handle this for now is to double back into the more open area you were in, lure the creature over, then sprint around it, dodging if it seems you might get hit, but it is easy enough to keep some distance. If it doesn’t want to be lured back, there is a point at which it will turn away at its limit of distance. At this point, it will not attack if you dash past.
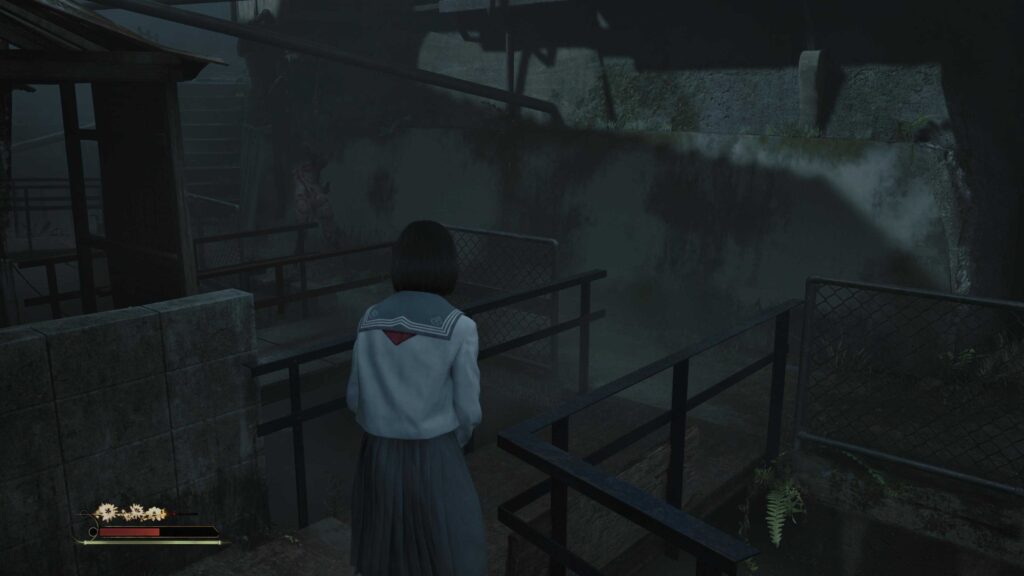
After making it past this enemy, it will chase you into the lower levels of the canal you have entered. Along this first are a few side areas that are closed off on the other side. You might not want to risk this since you have a monster with a knife on your heels, but if you want heals, the last closed-off area has Red Capsules you can grab. There is a bridge past this that you can use to get to the next area, which is two pathways with bridges on either side. This area in particular is good to loop around the monster so you can double back to the item prior. In this area on the left is a route that allows you to duck under some debris into a closed-off area with a Yokan set on a table in front of you. You can go behind it and interact with the radio for a bit of lore. Return and to the left of the path you were on is a stone staircase that the creature will not go past, so you’re safe… ish… for now.
This is not the path you need to go to progress, but along this linear path is a hut you will enter, where you can find Red Capsules and a Local Doctor’s Note document that continues the one you found what feels like a lifetime ago already. As you exit, you will see a monster on the roof above, but it will not attack you, at least not yet. Double back again to where the steps were, then turn left, and you will see a ledge to progress, so approach it and press the action button to climb up. You will now see an enemy idling by this location now, so be careful, as it can jump up the ledge and give chase. When you go up the stairs, on the left of the building, a second monster will arrive. Heading right is a small dead end with a crate. Open it quickly and grab the Red Capsules inside before making your way through the alley to escape your pursuers. Make your way down the linear alley, and you will find a sliding door that is slightly open. Interact with it to enter the house.
Continuing Toward The General Store
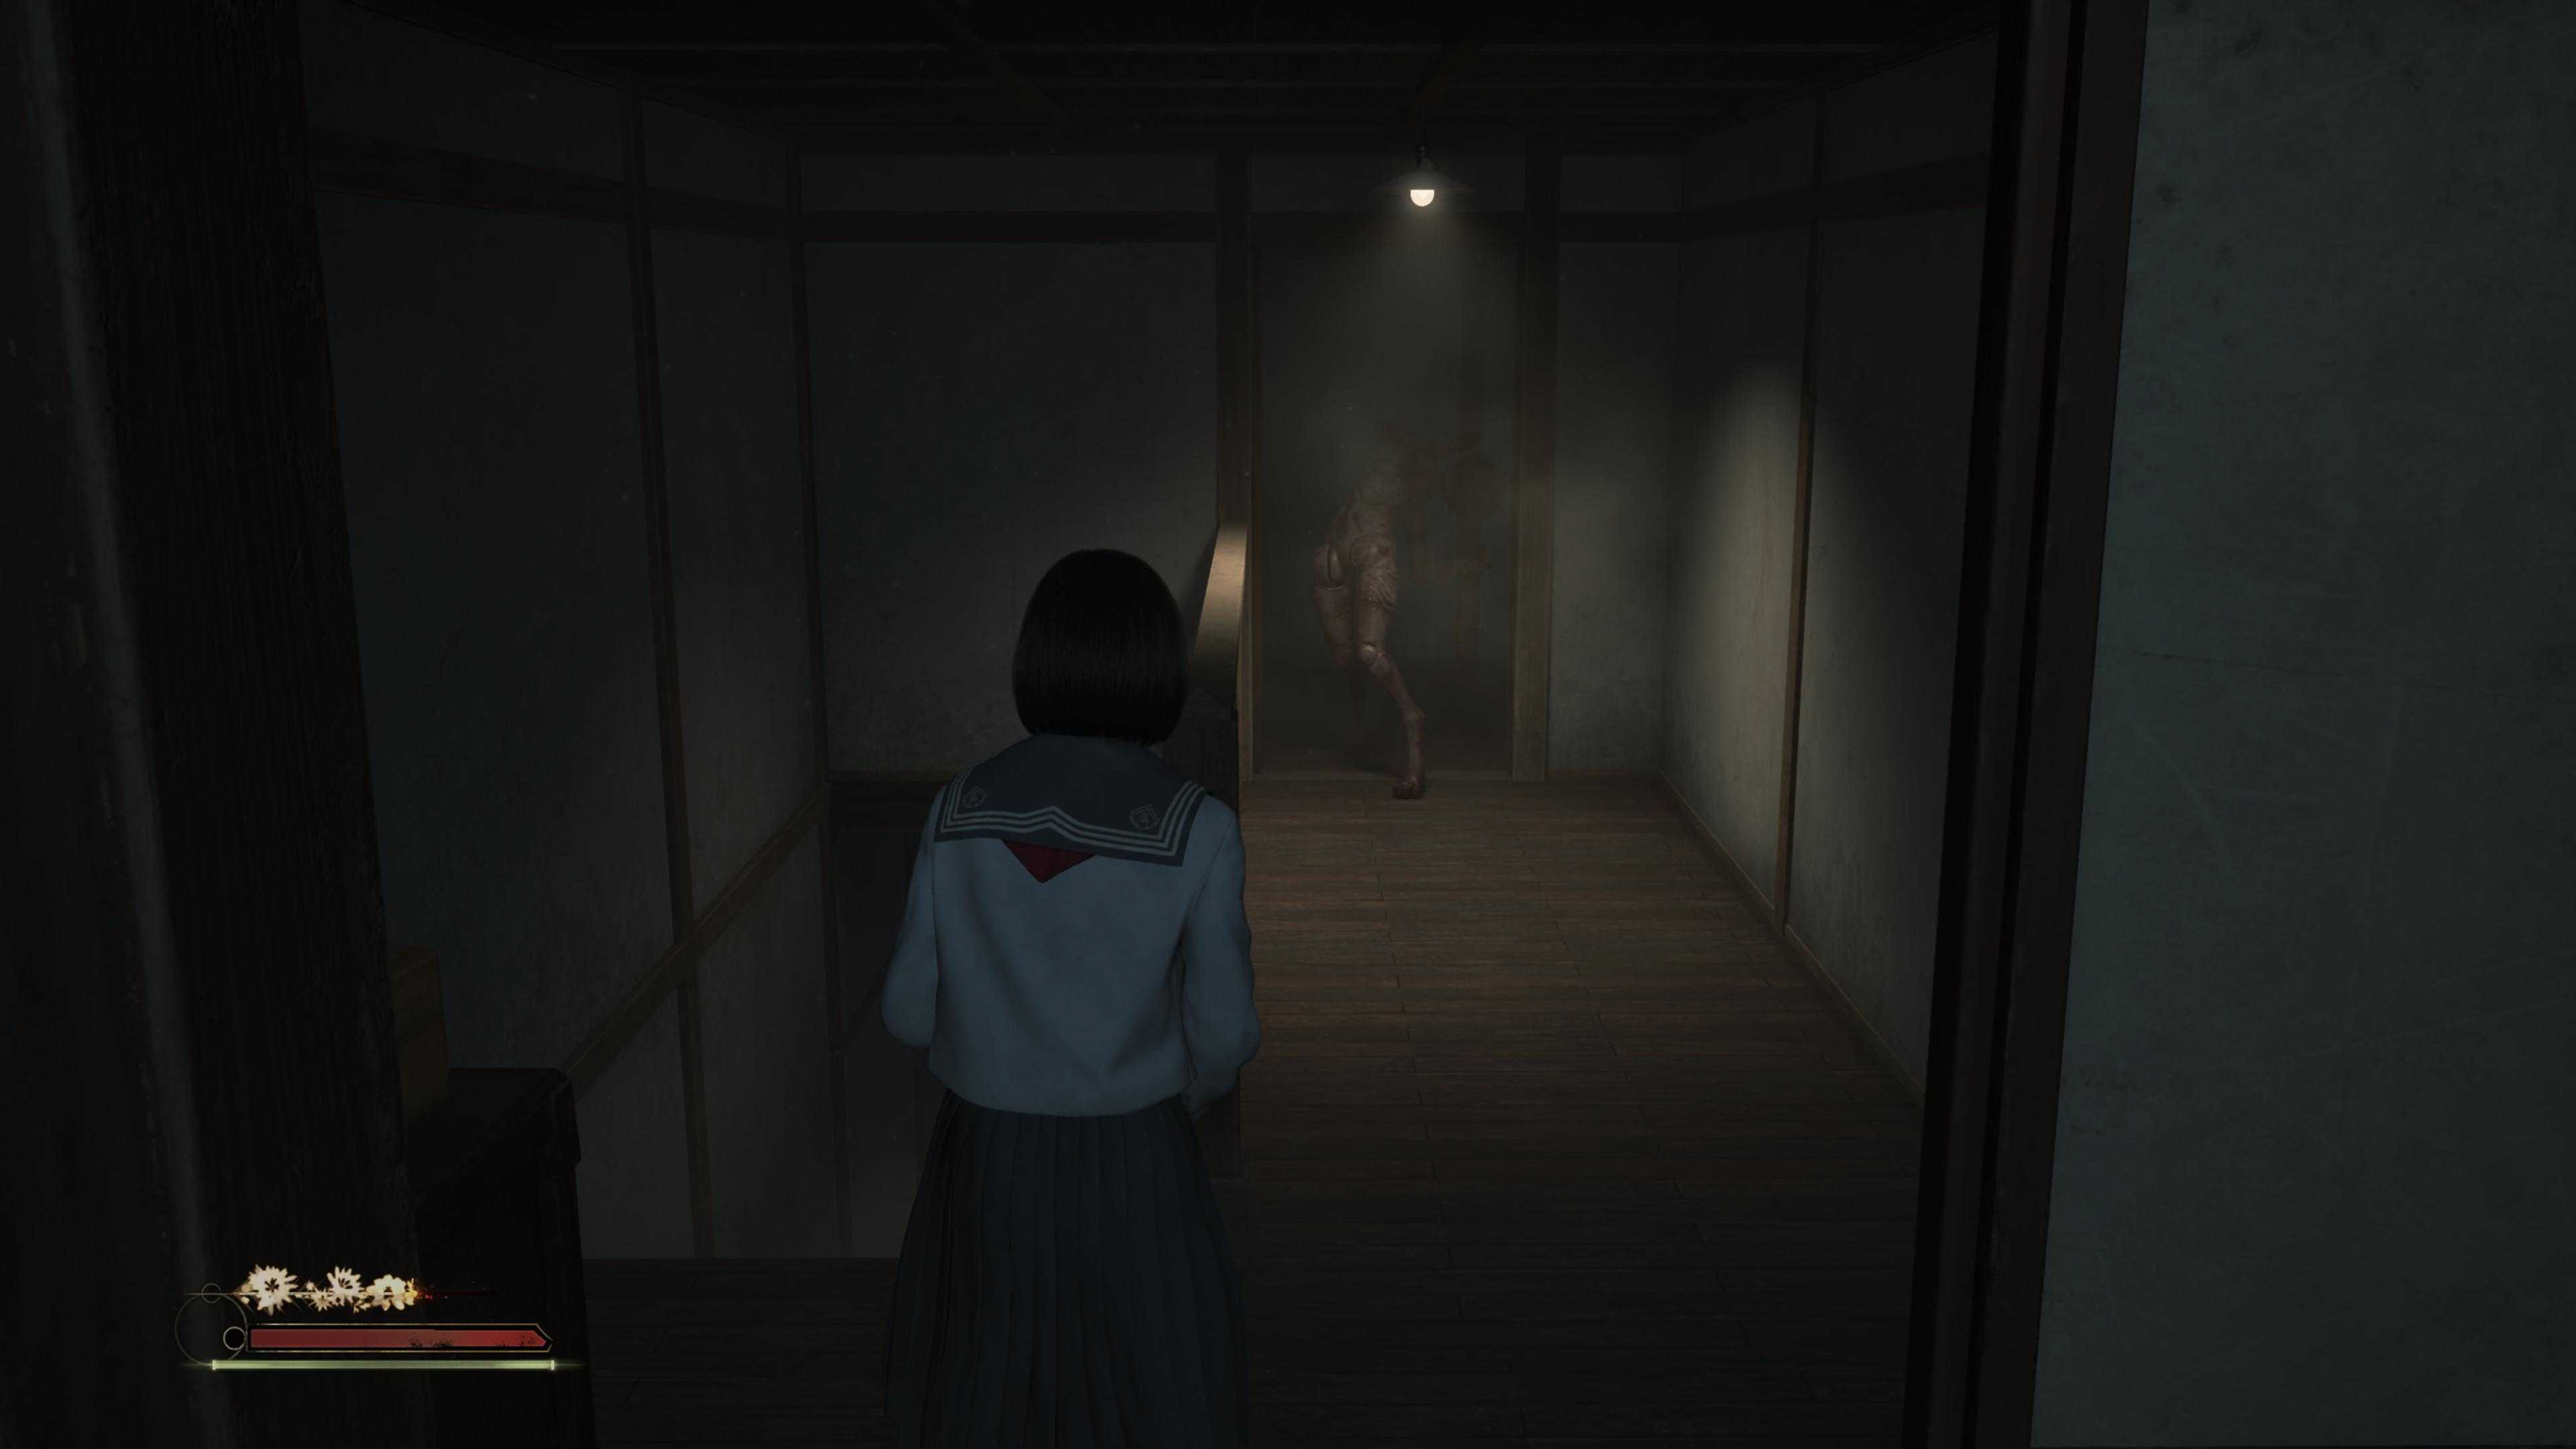
Entering the house, you will see a dining room in front of you with things still on the table. Among the things on the table are some Red Capsules you can pick up. You can also interact with dressers to open a drawer and see if there are items. On the right side of the dining room is a dresser with a Bandage in it. Exit to the hallway you started in, then head right to go upstairs. There is a single door that is currently locked, and a double door into a small room that you can enter. On the left side of the room is a bloody mass you need to examine to notice and acquire the key sticking out of it. Before you leave the room, check the dressers for a Yokan. Back in the hallway, a monster will break open the closed door, which is where you were heading.
You can do a dodge while in this hallway if you want to slip past. The smartest way to do so, though, is to lure it to the kitchen and use the table to get some distance as well. Once back upstairs, there is a door you can interact with to leave, but we are not doing that yet. Head right, and on a small table are a pair of keys you can pick up, called Back Door Keys, that you can use to unlock the door locked on the other side of the kitchen. So, we are going back. Dodge the monster again to get to that door. The easiest way is to just sit and wait till it returns to the room, then use the area you found the keys to get enough distance to run past. Open the door to another hall, then open the next door to get access to the back. Head down a ladder and directly on the left, you will find a charm called Omamori (Whale) that can be equipped in the main menu and prevents the player from being interrupted from healing if they are attacked. Now double back to the room upstairs and use the bloody key on the door near the other keys to exit to the rooftops.
At the end of the roof is a ladder and another linear back alley to traverse till she reaches another ledge to drop down. In front of the player is a dead end that you can head into to get more Red Capsules before turning around and traveling the right way. A monster will jump from an area to block your path on the only bridge, but it is easy enough to get past if you back up and guide it towards you, then dodge around it. Crossing a tiny bridge with a left or right path to choose, go right and across another bridge to some shrine-like structures and a basket that has a Bandage in it. You are dodging an enemy that can jump around to cut you off, so you are going to want to be very careful, as these pathways are very narrow. Once done here, you will need to avoid the enemy again to take the other path from that tiny bridge, which leads behind a house. Along this path, you will find an Antique Comb on a concrete wall that you can grab.
After this, you will reach another shrine, where you can save. This Hokora will have an expanded selection of options, including enshrine to trade items for faith, clear mind, allowing you to spend faith to restore sanity, and Draw Omamori, which lets you spend faith to get a random Omamori you can equip for minor boons. Once you have completed everything here, take the tiny alleyway next to it to keep moving. This will lead you down some stairs, under a building, and into a smaller area where you will finally be able to fight back when a cutscene gives Hinako a metal pipe. Combat isn’t fast-paced, with the player being tasked with seeing when and how an enemy will attack, then dodging, which creates an opening to attack. A heavy attack with R2 can also knock an enemy down for several free hits. You only need to beat one enemy here before you can continue on your way. Before leaving, though, grab the Bandage sitting on the wood right before the staircase to continue.
Chizuya General Store
A small walk forward, and you will reach a bridge where another enemy blocks your path. Running is still a legitimate option if you can slip past, and your weapons do have degradation represented by a crescent moon next to your health that you might not want to expend, though its not a major issue yet. Most likely, now that you can defeat this monster, you will go that route, no judgment. Once it is down, keep going across the bridge and up the stairs. You will come across a Toolkit along your way, which you should grab, which will allow you to repair your weapon. You can watch the degradation gauge to see when to use it, or the weapon will become visually messed up when nearing the end of its life. As you travers the main road right past the tool kit you will see a tiny offshot you can enter. Here, next to some shrines, you will see a box that, when opened, contains a Ramune to collect.
At the end of this road, you will reach a tree and a house. Go in front of the house to grab a Yokan off the table, then head up the stairs, where you will get attacked again by a monster. By this point, you should know the drill, so beat it with your pipe to make sure you are out of harm’s way, then continue. Along this path, you will see a crate on the right side before a left-hand turn. Open it to grab another Ramune. This area leads to another Hokora shrine you can save at, but also a few things to grab. Next to the soda machines, you can find Red Capsules. Right of the shrine, leaning against a crate, is another Steel Pipe. Save at the shrine, look out of the alley to realize you finally reached the general store. So, you might want to prep yourself. When you are ready, step out towards it for a cutscene.
Once the cutscene ends, you are spit into an arena fight against one enemy, which seems simple enough. What matters is making sure you avoid the edges of the fight as tendrils will grab and hurt you, and now, unlike the previous times this happened, you have an enemy that could probably drain your entire health bar if given an opening like that. Fighting one enemy should not be any different from what you have done prior; however, once that enemy is defeated, two more will show up, with both needing to be fought in unison. My recommendation is to rely on the heavy attack, which is powerful and stuns them. If you can clear out the first enemy with a few hits right then and there, this is good. If not, it allows for focus not to be split by watching the other enemy approach with the one you are waling on, unable to fight back for a moment. If the other gets too close and preps an attack, back out with a dodge, then loop around them and get some distance. I say this mainly since my strategy was to drag them to one side, so I have the full length of the killing field behind them to recoup and gain distance should I need it.
Once you have killed them both, a cutscene will play out, and you will receive the Surrounded by Fog Trophy/Achievement for completing the first area of the game. Sit back, watch the final cutscene of this part play, and bask in your well-earned victory. However, this is only the beginning of the nightmare unfolding in Ebisugaka, so follow our guide and you should make it through.
More coming soon…
Remember to follow us on Twitter, Facebook, and Bluesky to keep up to date on everything we have going on!