
*Spoilers for Silent Hill f below.
Shrine Path
After the showdown outside the Chizuruya General Store, Hinako passes out, waking up later inside a mysterious shrine with no idea how she got there. When the player takes control of her yet again, there is not much they can do here, as much of the shrine is unlit., Everything seems to be guiding you forward towards two Inari statues and some offering plates and offerings. The basic goal here is to match up the offerings with the Sanbo, or Shinto offering pedestal, and go with it. We are not going to fully go over the puzzle here, as we have a guide specifically for the Shrine Path puzzle you can check out.
Once the puzzle is complete, a cutscene will play out where the shrine lights up and the exit to the building is revealed. It doesn’t end there, though; the room turns red, and Hinako’s sanity meter starts getting drained rapidly. As soon as the player resumes control, move towards the exit as fast as you can, since once the sanity meter is gone, standard damage will begin occurring. A cutscene will then occur again after reaching the door, managing to escape into the arms of a K-pop hun that feels strangely out of place, given what is happening here.
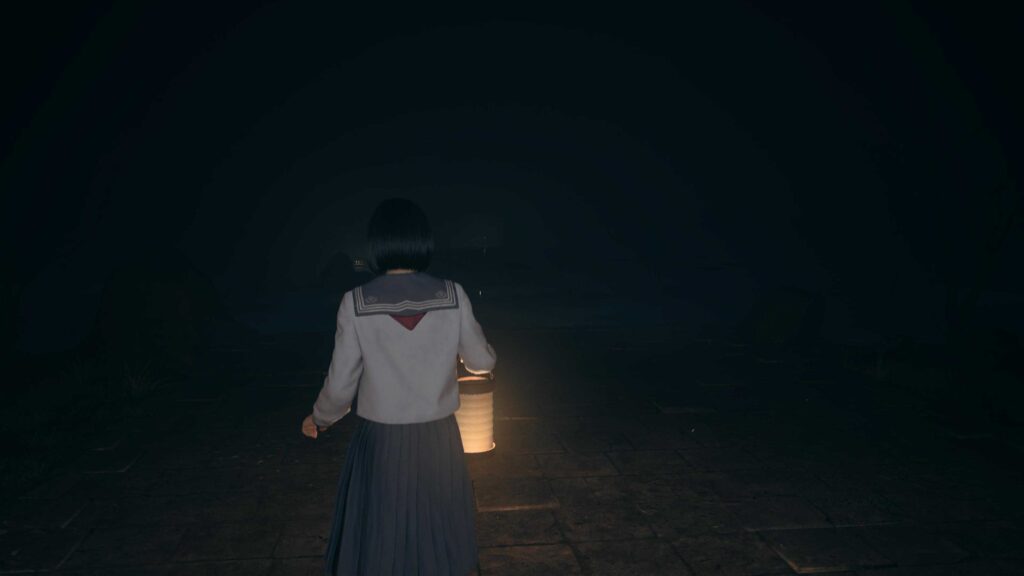
The next portion is a mostly linear chase when Hinako follows the man along a linear path with poor visibility. The man in the fox mask will jump ahead of you with only the light of his blue lantern serving as an actual guide to try to catch up to him. Follow this water-soaked gravel path through some Torii gates, and between walls hung with Ema’s. All the while, his light will disappear, then reappear when you move slightly further along the road, but there is no way to get lost here; just move forward. As you pass the Ema, which are hung on racks, you can examine them to flip them and see symbols underneath. This will matter later, but right now the context isn’t here yet.. Past that, you will arrive at an Inari shrine, and a cutscene will play. At this point, you will receive a Kaiken, a type of Japanese knife common among the samurai class.
Before continuing to follow the man, turn around to face away from the screen, then head to the right of that location, left of the Ema wall, and head down. Here you will find the Scrap of Paper document on a rock you can pick up. On the opposite side of that is a note carved into a rock, which you can also read if you want. Now you can continue on the path the man took, following over a wooden bridge towards a large wooden gate where yet another cutscene will occur. As it turns out, we are not going through the gate, and once again, the man leads you in another direction you need to follow. Across the next wooden bridge on your path, on the left, sitting on a rock, is another part of the Scrap of Paper document. A short walk from there, on the right, is a Bandage. After this, you have finally reached the destination this man has been guiding you to. On the left side of the building you have reached is a Hokora you can pray at with a Yokan sitting on a rock next to it. On the steps into the building are some Red Capsules as well.
Entering the Shrine
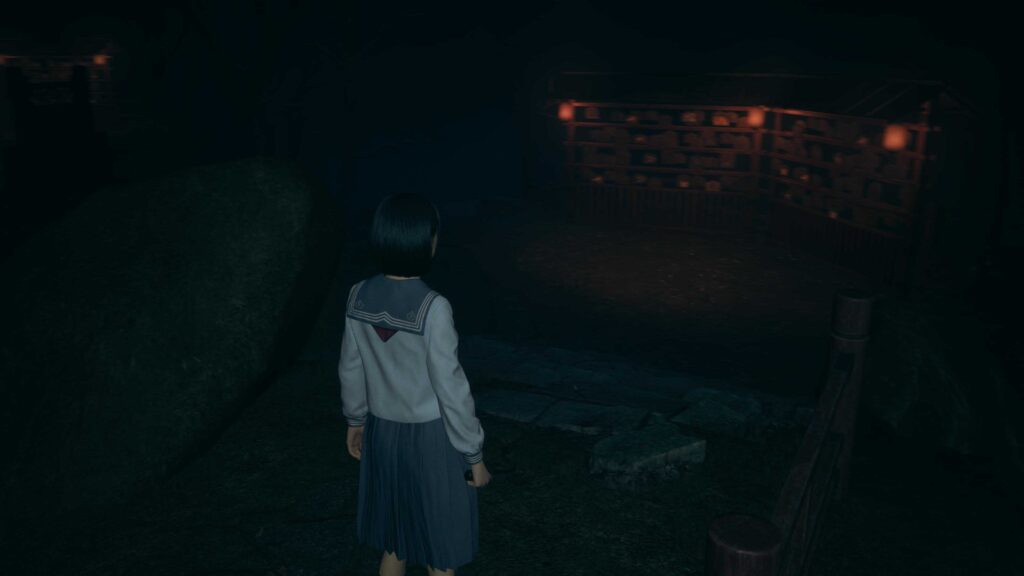
The shrine will have a lock on the door, and if you took the time to check the Ema, you will realize the symbols here are related, so double back to the fence via a path on the left across wooden planks to a gate that was locked on that side. When arriving, Hinako will notice a doll sitting on the shrine that, when looked at, triggers the appearance of a nasty enemy. Their move set primarily consists of swiping at you, which can reach a large distance across the swipes, as well as raising up and bringing the full weight of their hands down on you, which can deal a lot of damage. You will fight him with the Kaiken, since that is the only weapon you have, and while it is swift, it doesn’t hit for a lot. Also, keep in mind that stamina management can be a real concern, so dodging unnecessarily can put you right under its fists with nowhere to go. The best strategy is to play defense until you can counter, which requires you to attack with a heavy attack when the monster flashes red briefly, which it does with its ground pound move. This allowed me to clear them in two moves, with the opening created allowing for a flurry of slashes to follow up.
On the left of the Ema path, a Higashi, a Japanese candy, you can pick up. Now, you might have noticed that this enemy, when defeated, will turn black and just sort of lie there rather than vanish. Yeah, that’s the kicker: it will respawn and hunt you again given enough time. The puzzle itself is covered more comprehensively in a separate guide for it, so for the solution to it, check here. This being said, there are a few items you will find along your path. Traveling away from the Inari shrine through the first Ema walls, turn right and follow the path. On a rock on the right side of the second Ema wall area is a Divine Water. Now head to the gate to the third area, and sitting on a rock will be the Blood Soaked Letter document. If you continue heading away from where you entered the third ema wall grouping, the last wall on the left will have a cat ema on it that, when flipped, reveals the Omamori (Cat). This can also be seen cause the cat ema remains interactable even after you find the ema for the puzzle. Continue on, and you will find Kudzu Tea after crossing a small bridge and a Dried Carcass on the other side of the area. Now we should be ready to return.
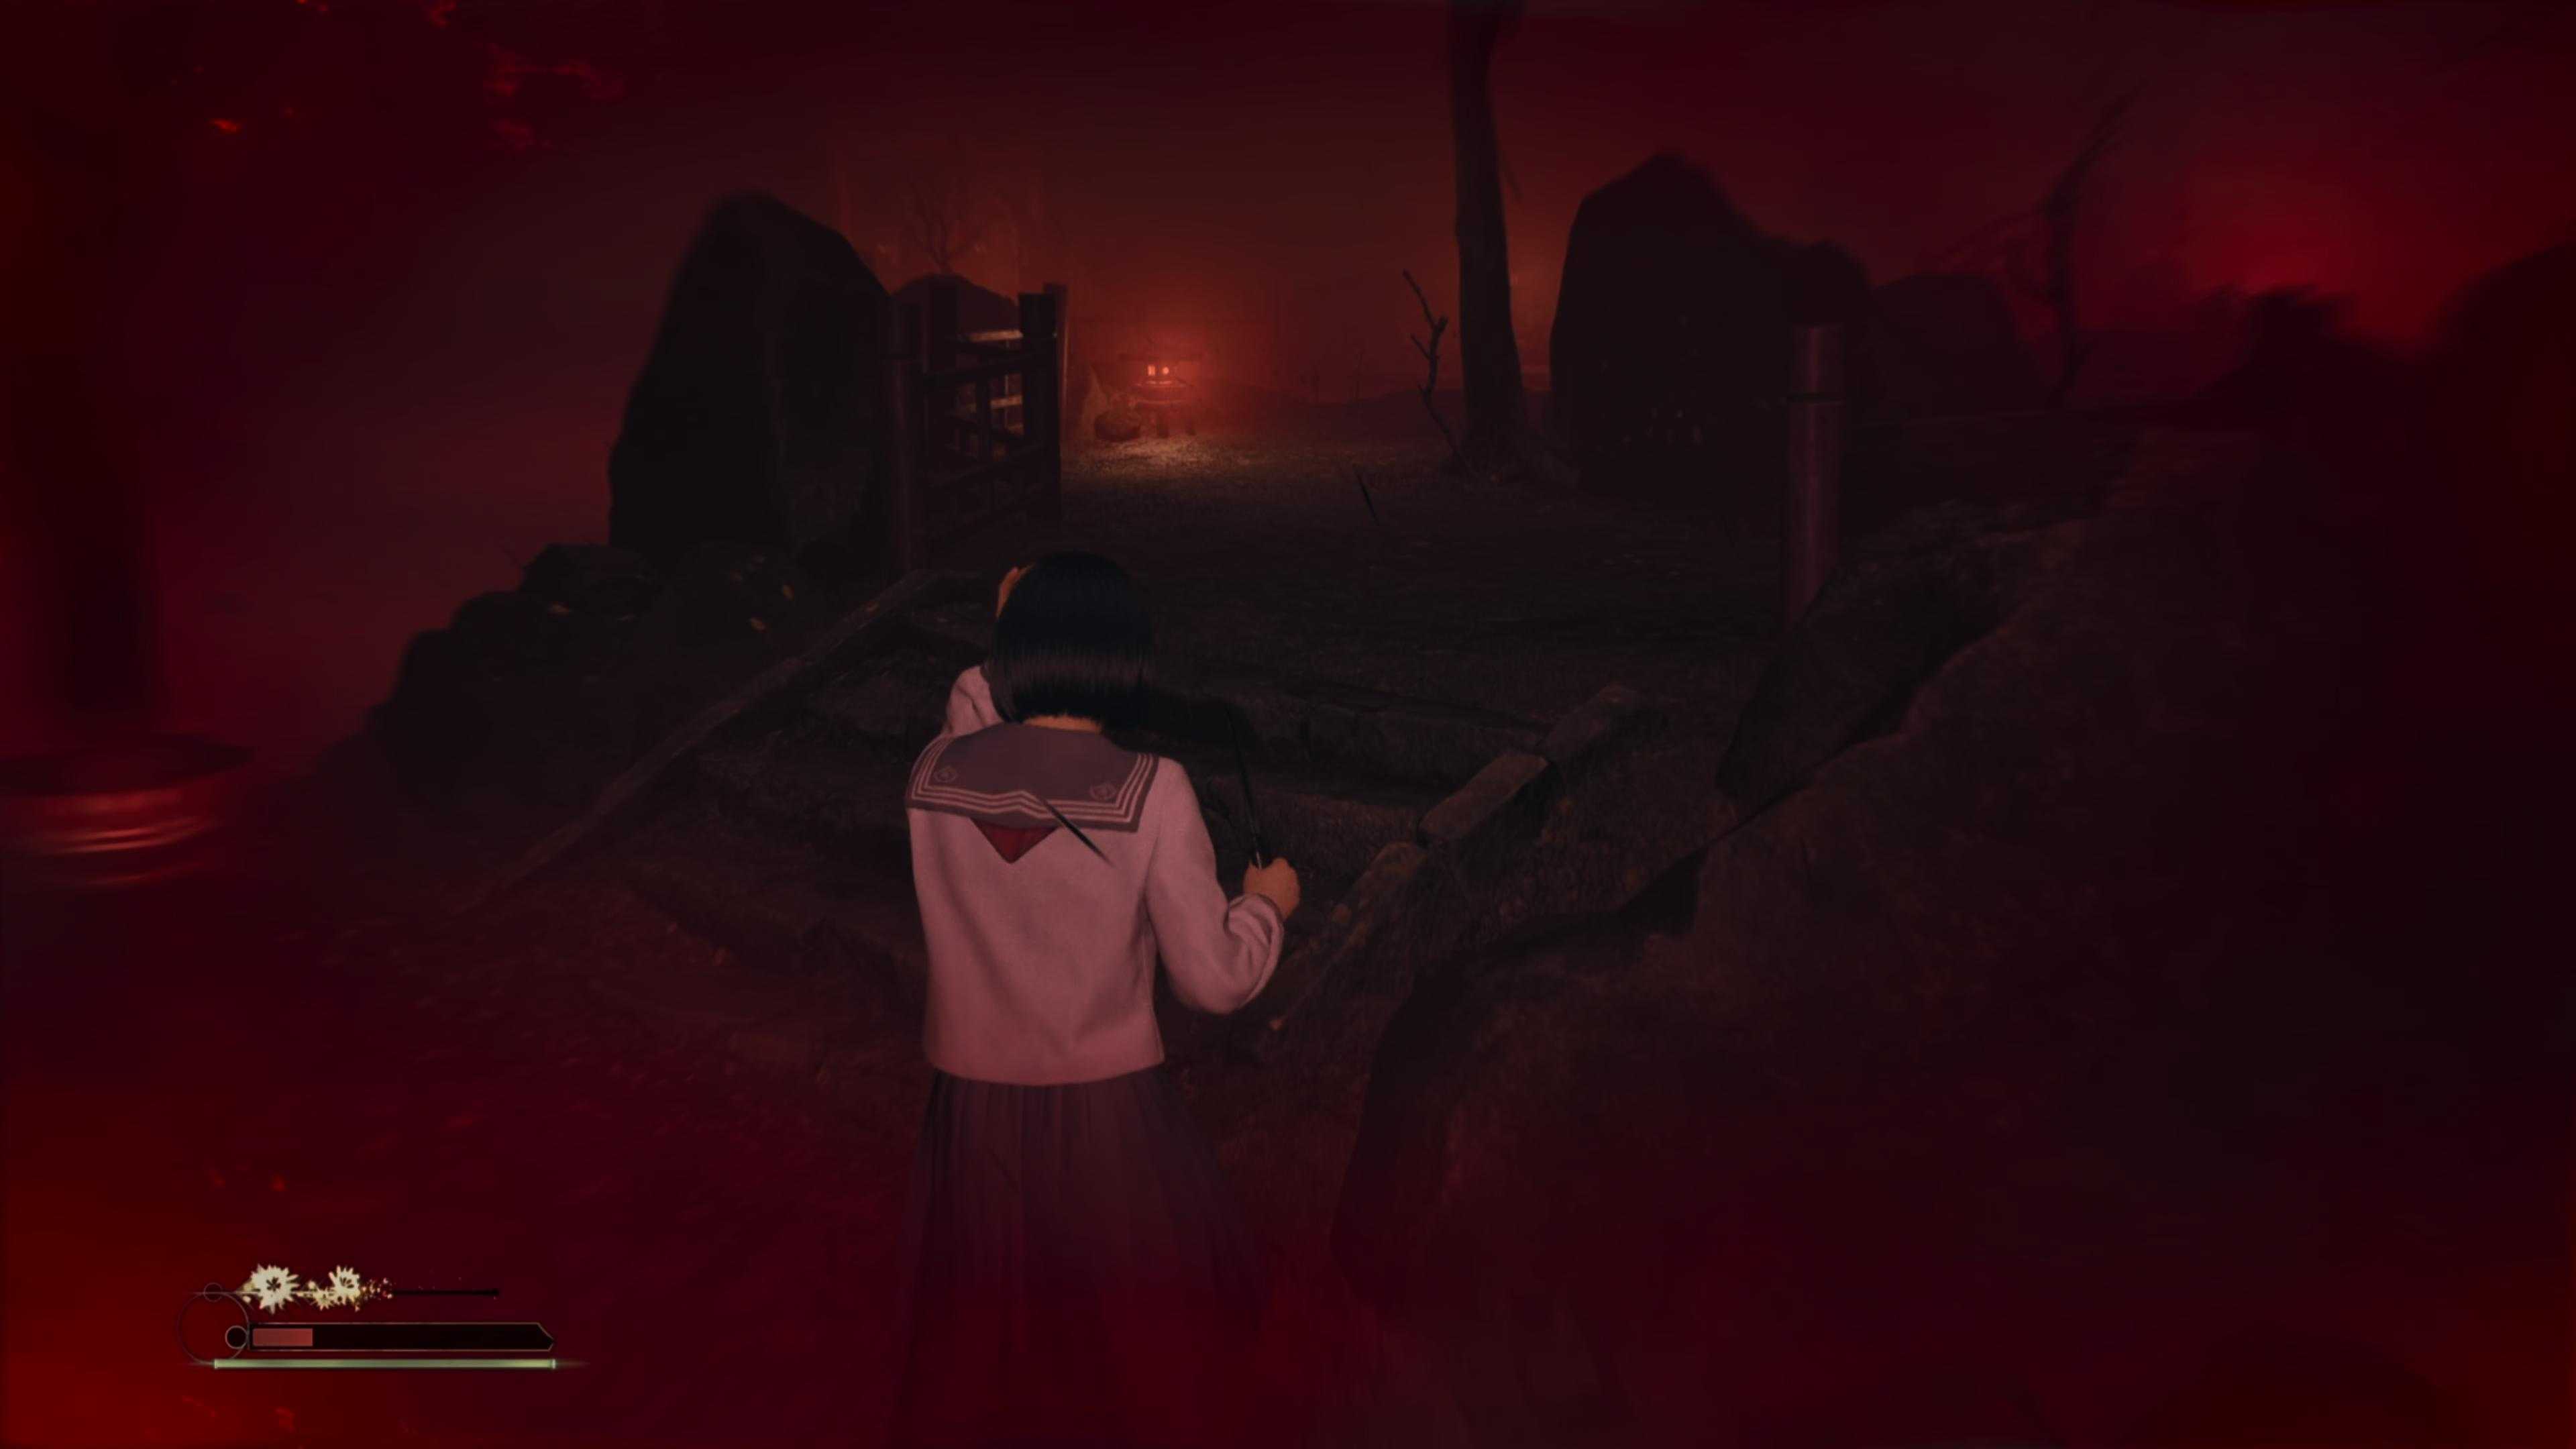
Upon opening the shrine, Hinako will enter a small room with no Fox Mask man in sight. You can look around, but the only thing you can interact with is the object on the shrine in front of you. This gives you the Stone Key and another cutscene. Once this finishes, you are given a much higher-stakes version of the path to the shrine entrance from earlier. This time, while your sanity is decreasing, it isn’t as fast. This doesn’t really mean much to the several monsters now pursuing you. The dash you are making is to the large gate you had passed previously, heading to the left along the initial pass to get there the quickest. One monster, the same as the one you fought earlier, will chase you out of the shrine you are in. You can TRY to fight, it’s not impossible, but given that your sanity is ticking fast, the best course is to run. These monsters are faster than you, though, so keep an eye behind you and dodge if they get too close. This is a balancing act, but not too hard. In front of you on the bridge, one will appear and cut you off. The best strategy is to run straight at it on either side and then dodge to the other, having drawn him out of blocking the whole bridge. One more will appear near the gate, but by this point, you should have enough space to sprint right at it.
Clearing this and making it through the gate gives you The Fox’s Guidance trophy/achievement.
Remember to follow us on Twitter, Facebook, and Bluesky to keep up to date on everything we have going on!